Hey what if we built a telecaster?
This post is a collection of photos, anecdotes and comments (from me) about building a series of guitars in collaboration with one Jenny Zhuo.
All of this began because of another project I was working on that involved a guitar gadget called an Ebow (an infinite sustain pickup). In the middle of working on that project, I asked, in jest, if it’d be easier to build guitars.
Now having worked on the guitars, I can confirm it is indeed easier, although that’s not to say that it was in any way easy.

A majority of the wood for the project was from a wine crate store that had spare planks. The guy running the wine crate store was just as confused as to how we’d use the wood to build a musical instrument.
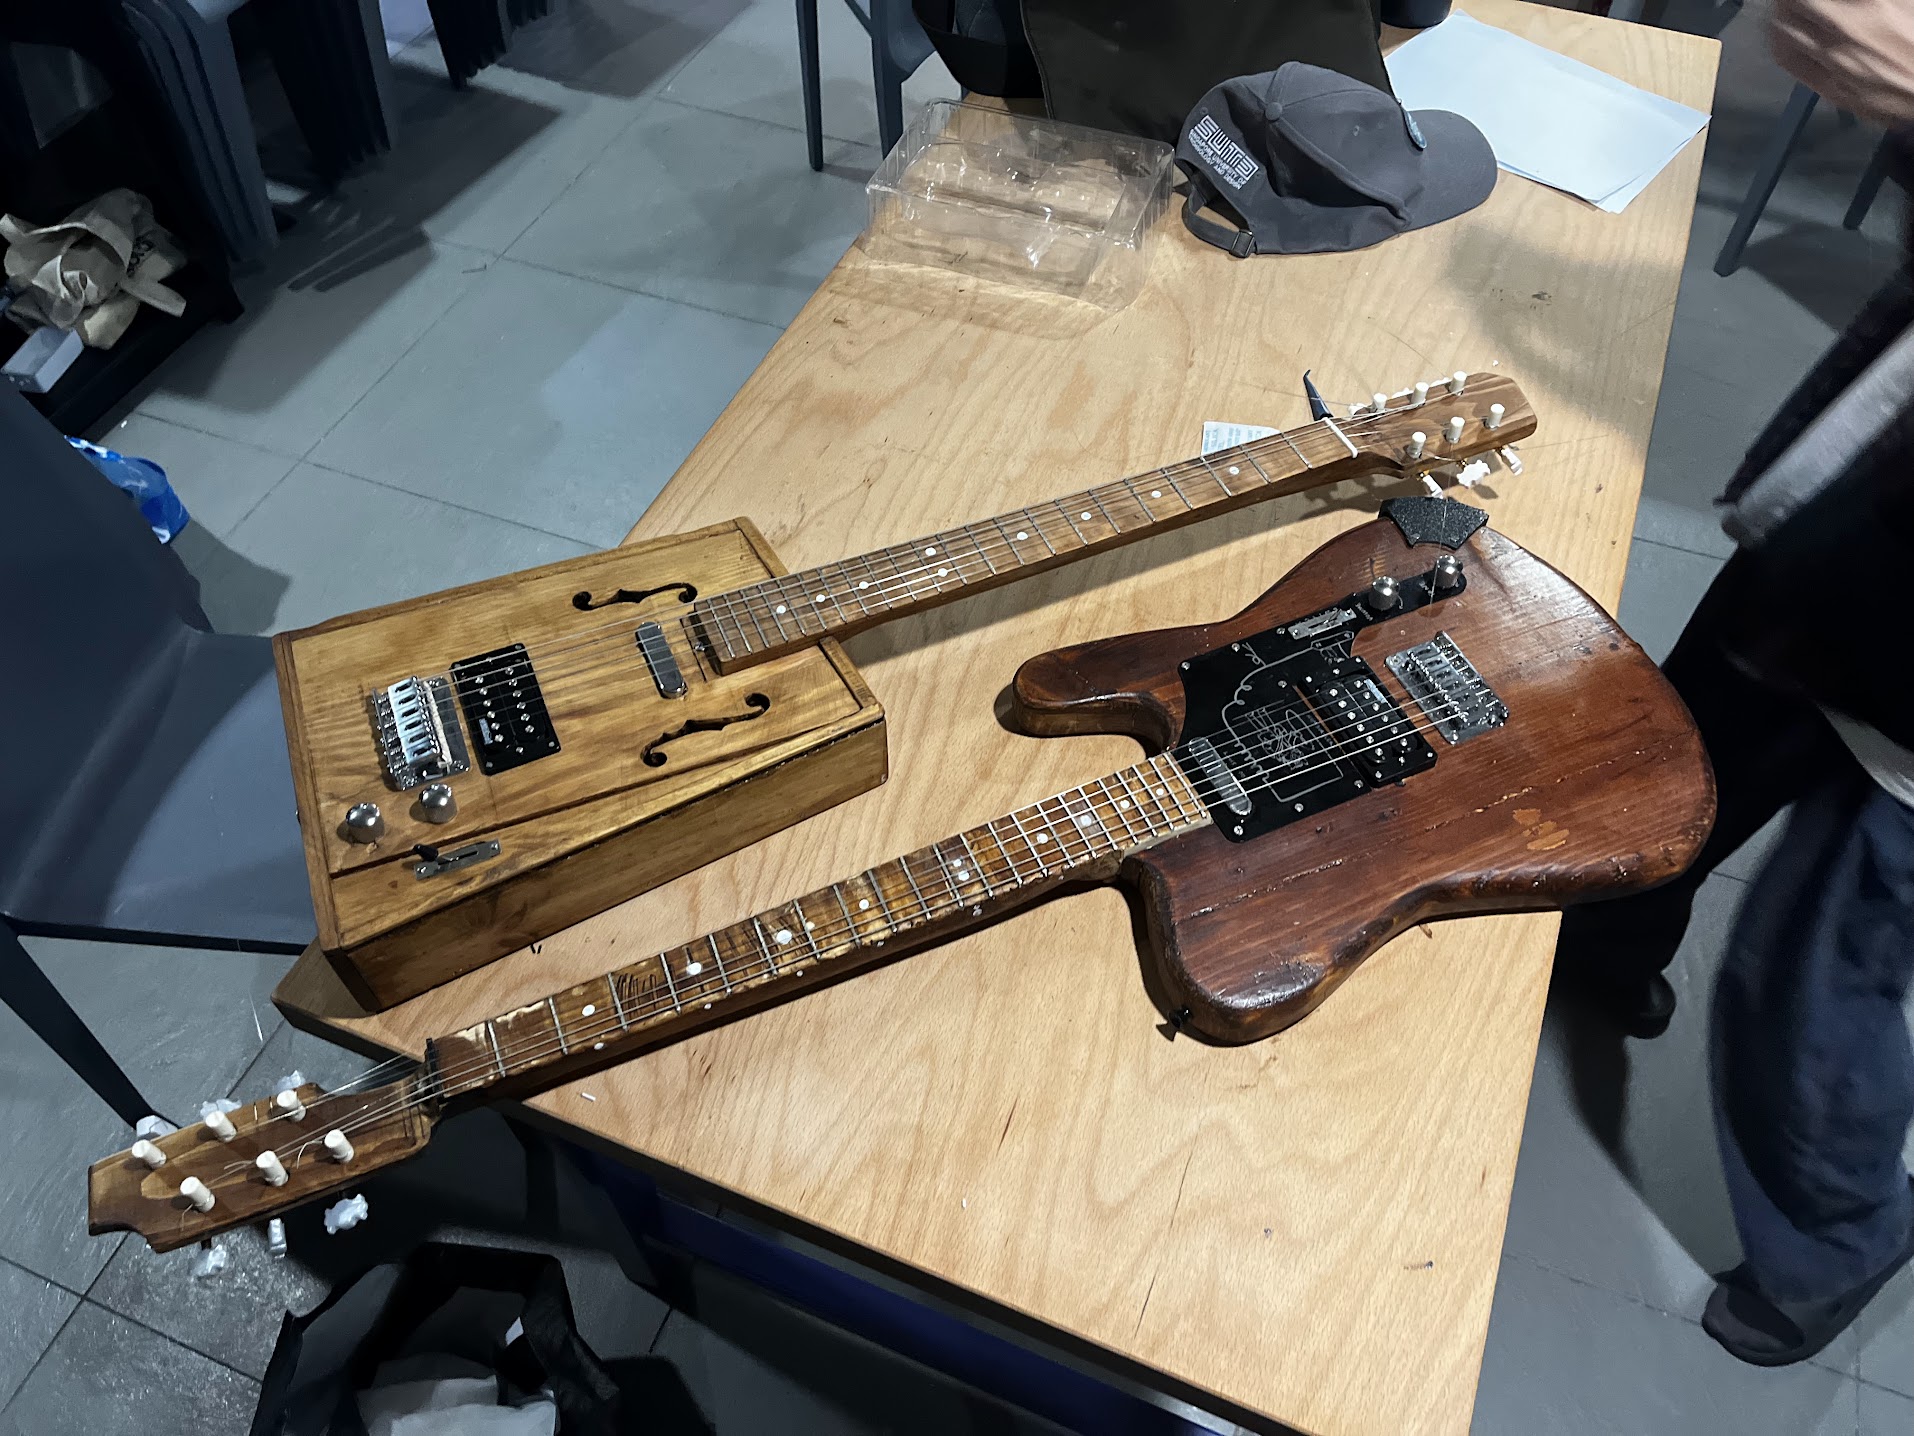
Starting off, we had very different ideas for what we wanted the guitar to look like. Personally, I was inspired by Jonny Greenwood (Radiohead)’s Fender Telecaster, and for simplicity, we both chose the same pickup set (Humbucker Bridge + Telecaster Single Coil Neck). My goal was to make something that looked as close as possible to the original Telecaster while adding my own pickguard. Jenny went for a hollow body guitar so that she’d be able to play it unplugged.
My Tele’s body was relatively simple to create. I glued a few pieces of wood together, clamped it and left it to dry, and then painfully chopped it into shape with a bandsaw. Perhaps not the most accurate method, but after a lot of sanding, it did take shape.
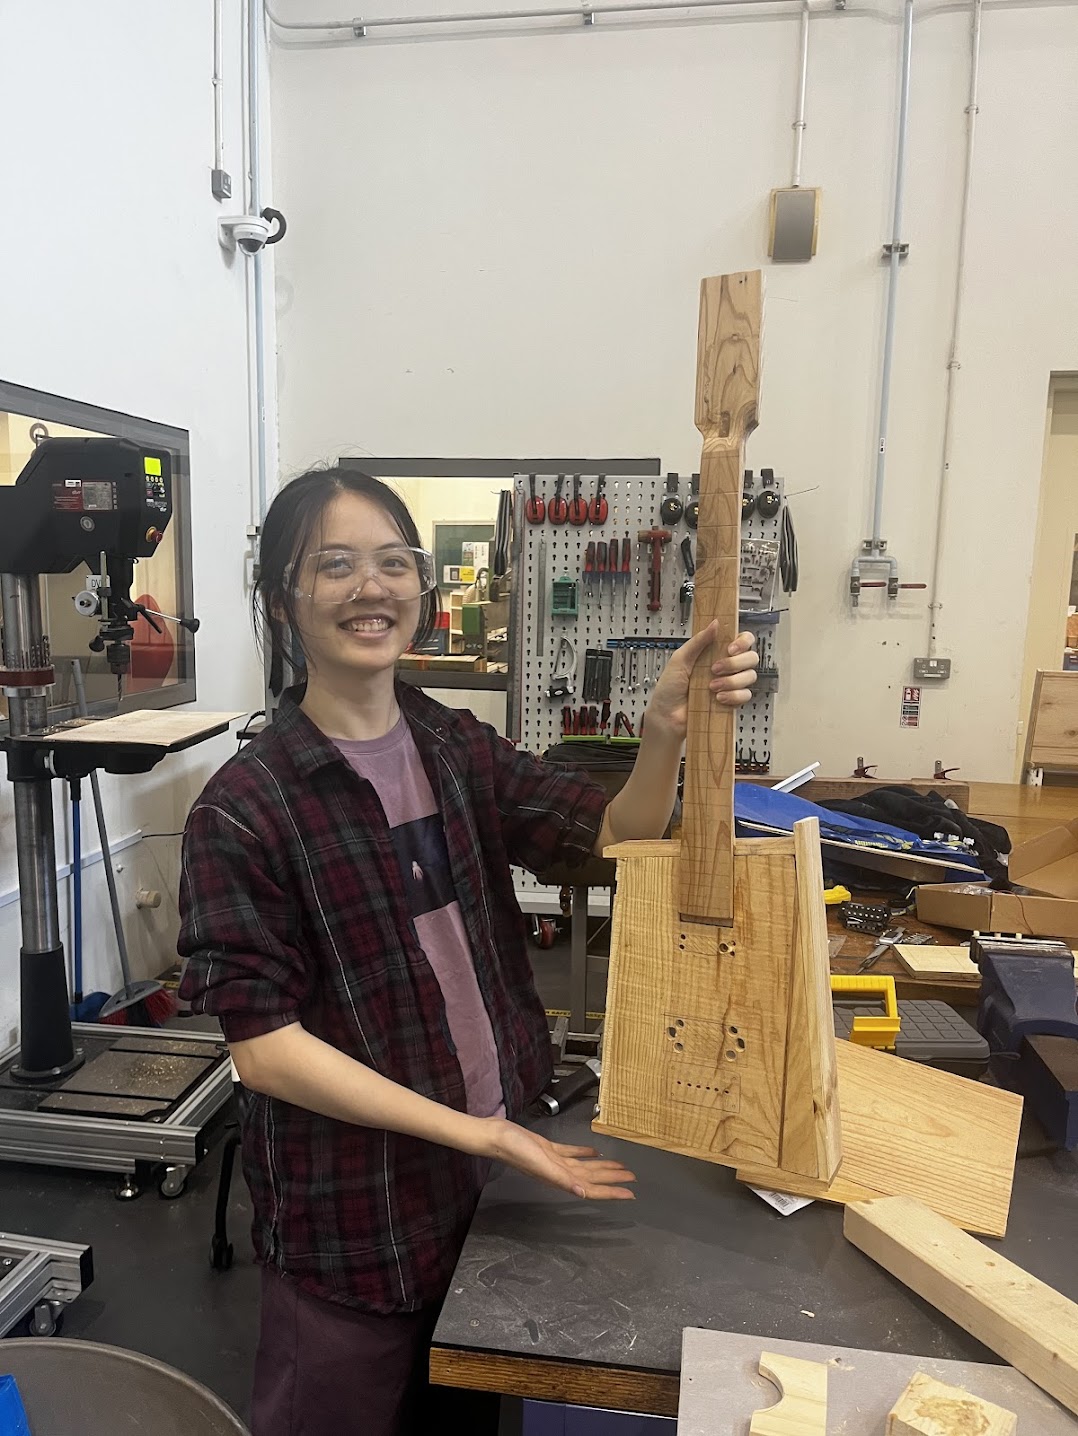
The neck however was a complete nightmare, and I ended up making a total of 4 before I got 2 right.

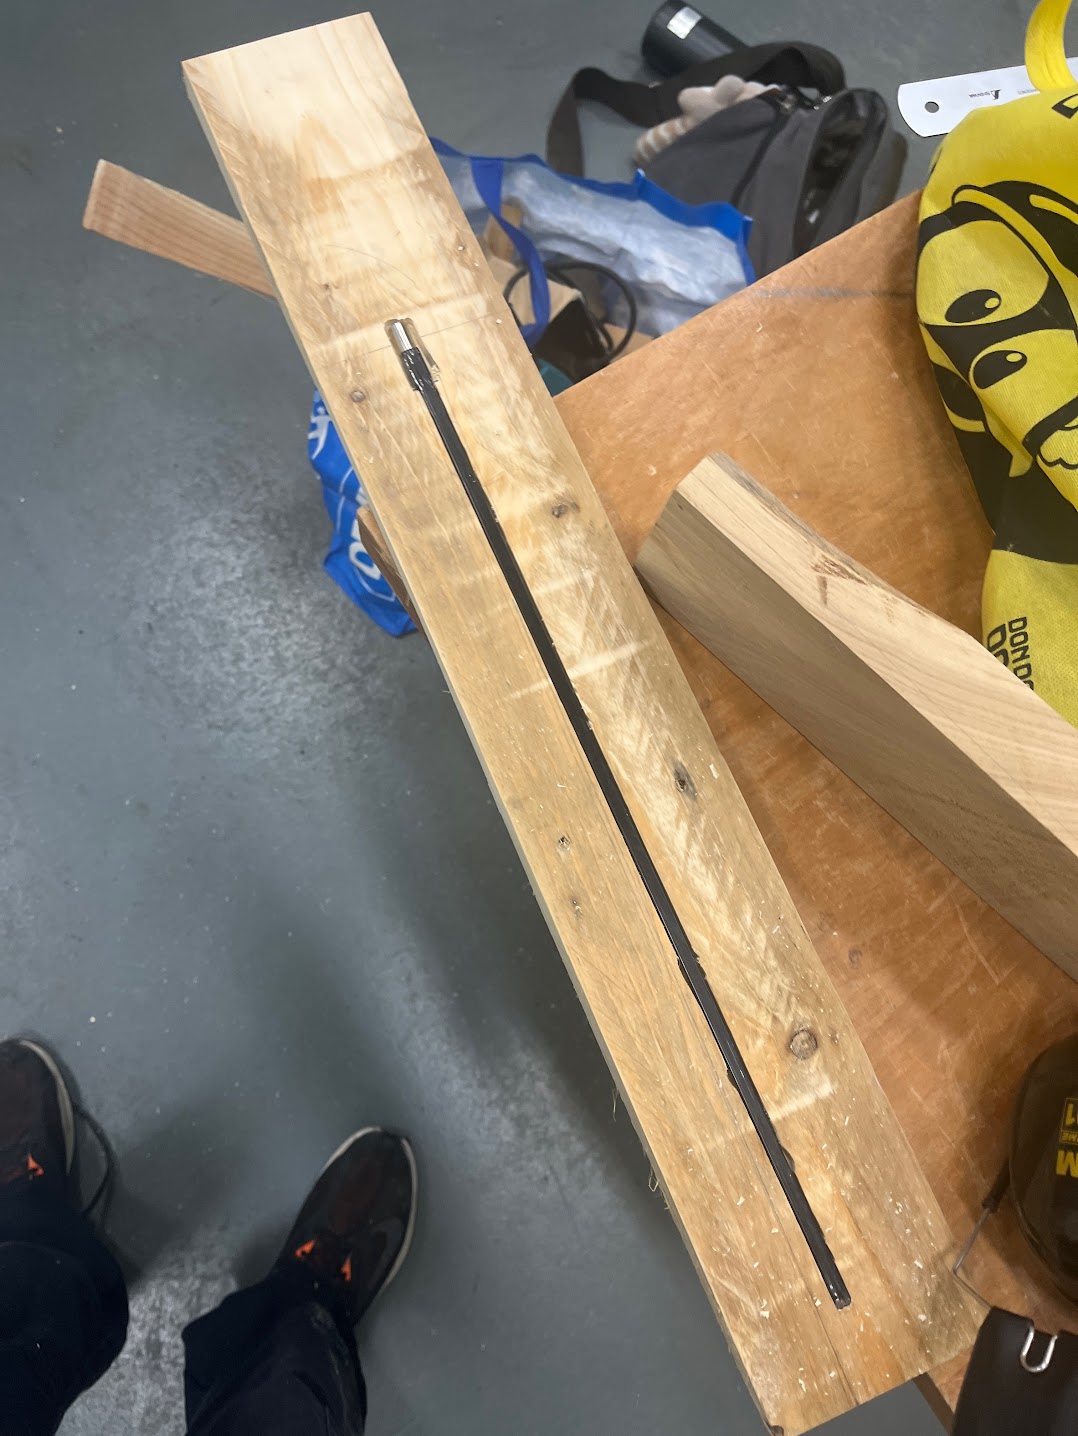
The neck consisted of two pieces: a piece for the base of the neck, and a piece for the fingerboard (where the frets are going to be attached). This is done to fit a truss rod inside the wood which counteracts the tension from the strings, and also allows you to bow the neck back and forth if the strings are floating too high above the fingerboard.
Once the truss rod’s inserted, the two pieces are sealed and we shaved the base of the neck to create the curved shape that allows a guitar to fit into your (generally) curvy hand. Problem is that I immidiately shaved off too much material and chipped into the fingerboard at several spots.

As much as it was starting to take shape, this neck was… unsuable :D.
Luckily there was plenty of wine crate wood to spare, and I found some more digging through my university’ scrapyard. I’ve never felt more like a raccoon.
This one turned out a lot better, although it did in fact meet the same fate as the first neck (turned into living room decoraiton). I also got some practice using a Makita manual router. I’m a big fan of this thing, and I feel like a low tier god using it.
Speaking of routers…
This project finally gave me the chance to use a CNC BCAM router. Lovely machine. In the words of the SUTD Fablab staff, “It’s slightly stupid.”
I imagine this is the closest I’m getting to performing surgery in my life. I’m also ok with that.

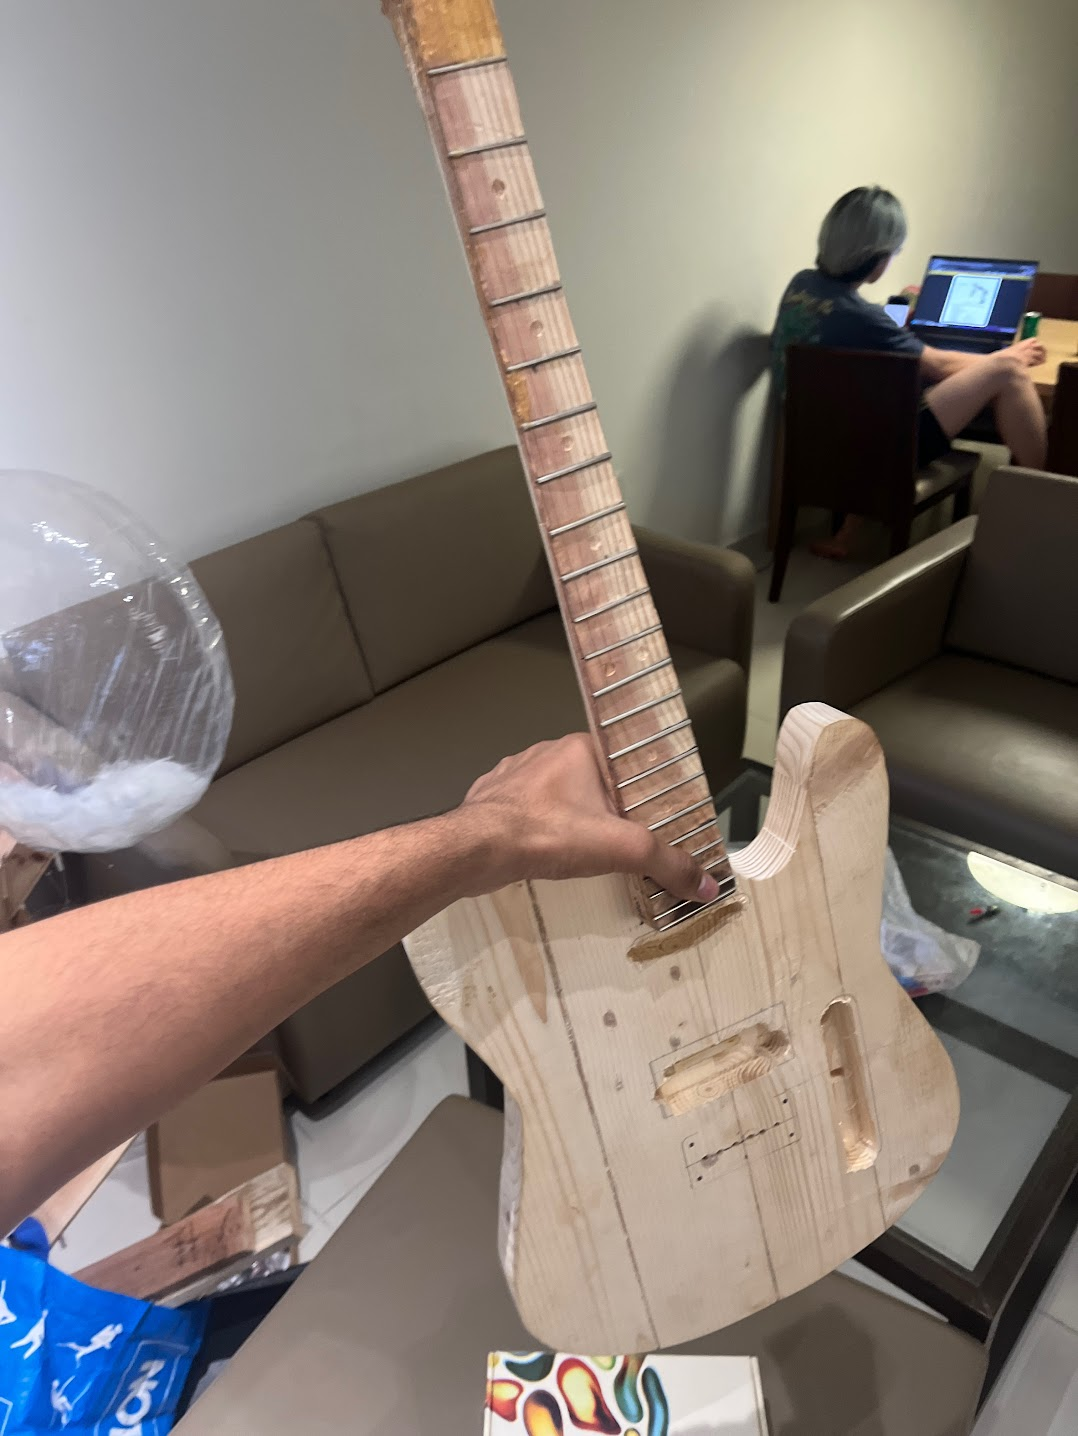
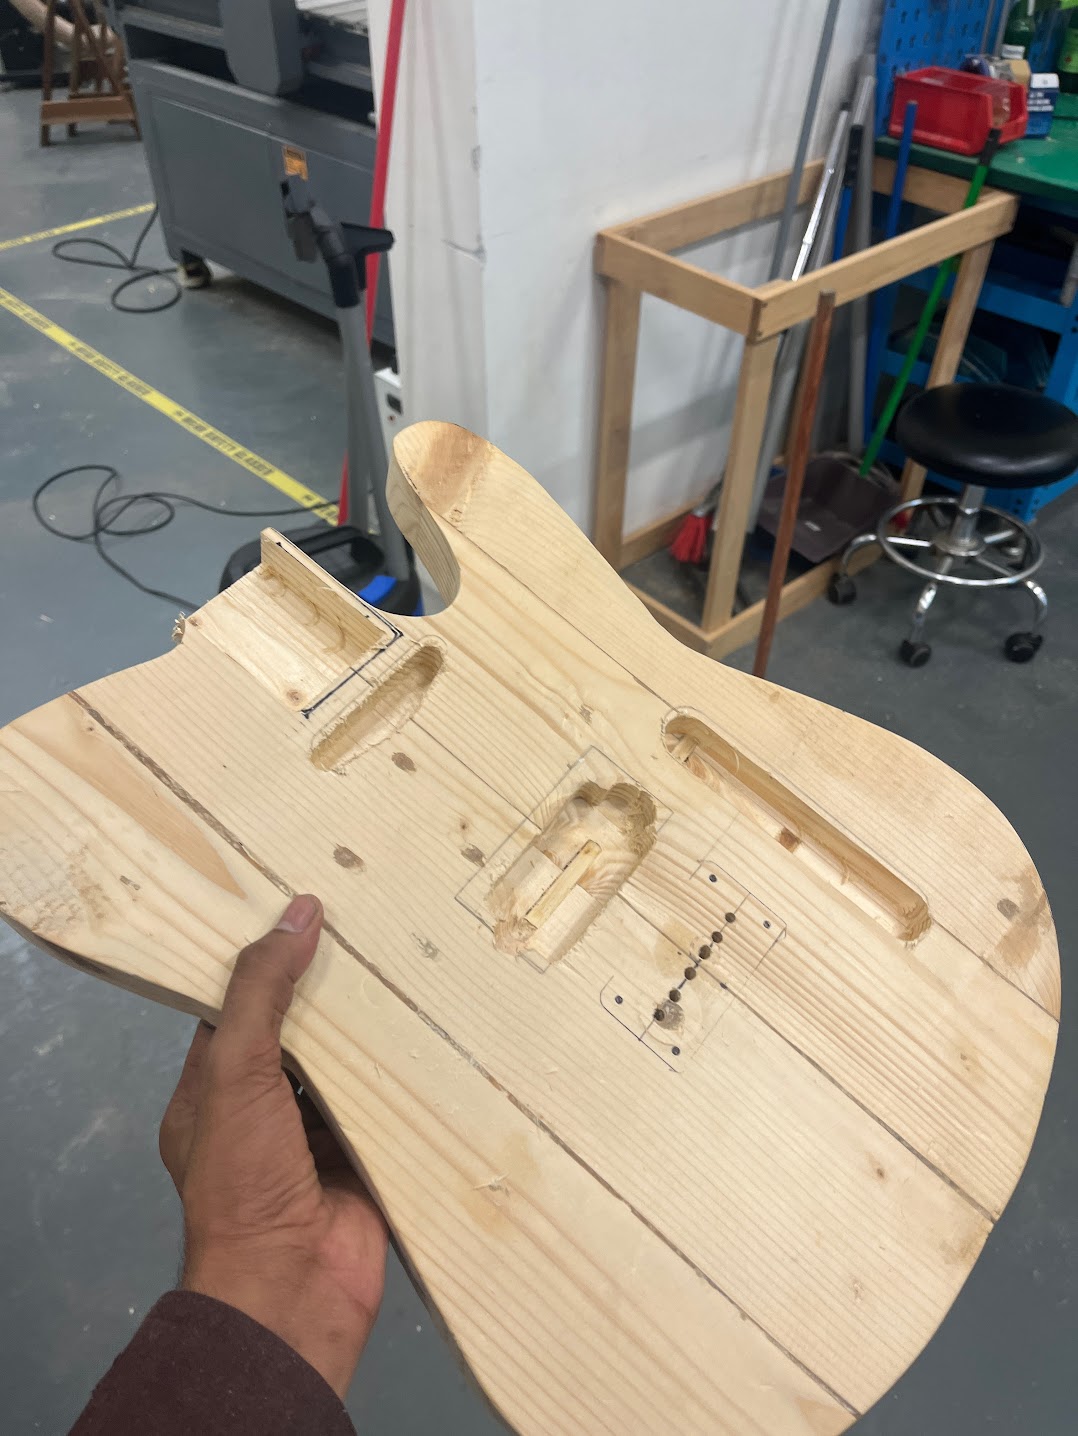
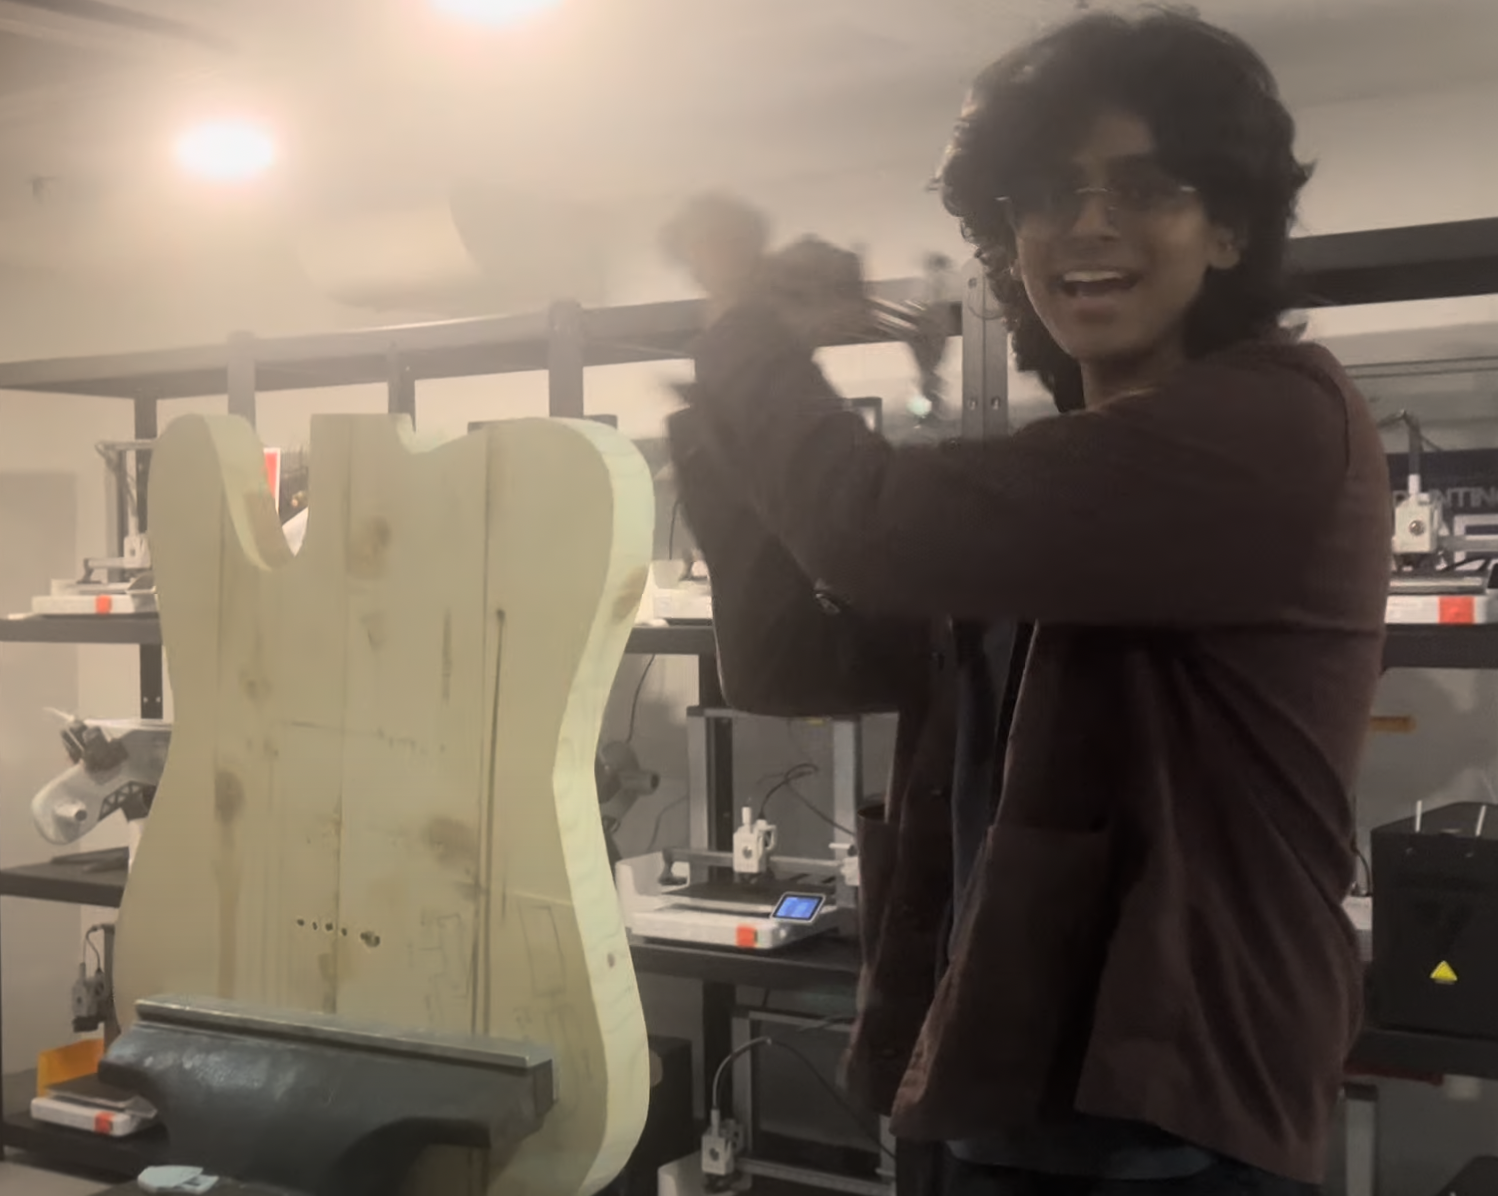
Pictured above is my flatmate, perhaps wondering if sharing an apartment with me was the wisest choice. Also pictured above is the initally routed guitar body.
Now, at this point I hadn’t quite figured out how to get the wiring through the wood, so I managed to jam an entire circle file in the unfinished body.
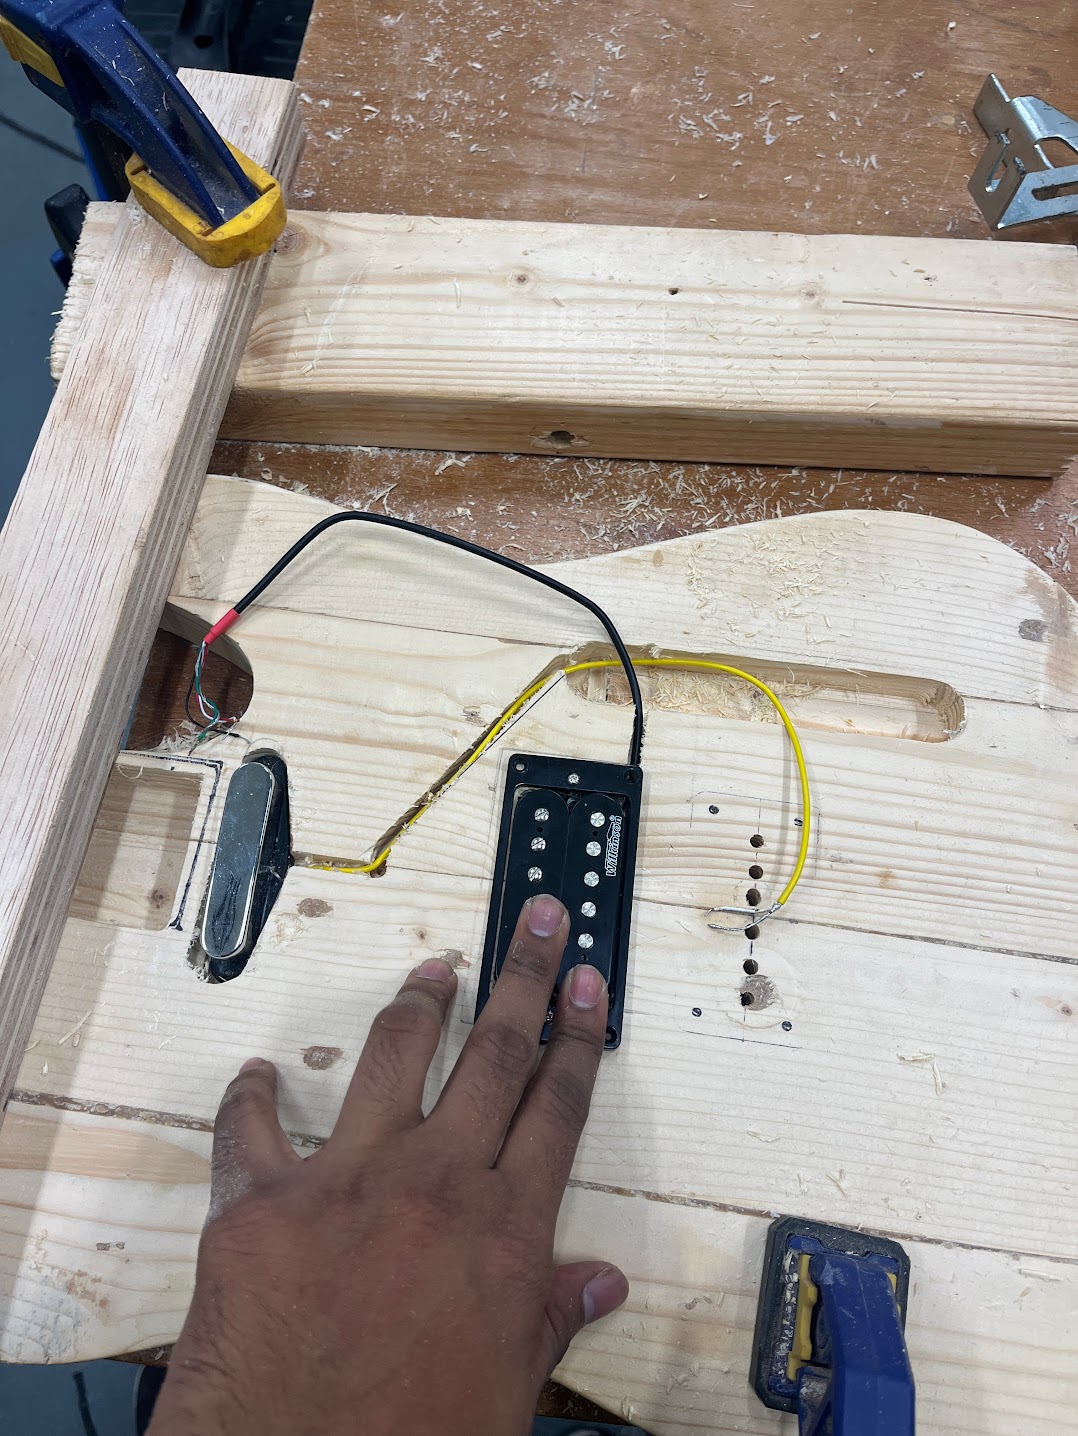
After some more manual router abuse, I managed to fit the pickups into the body.
Look at this strange fish I caught.
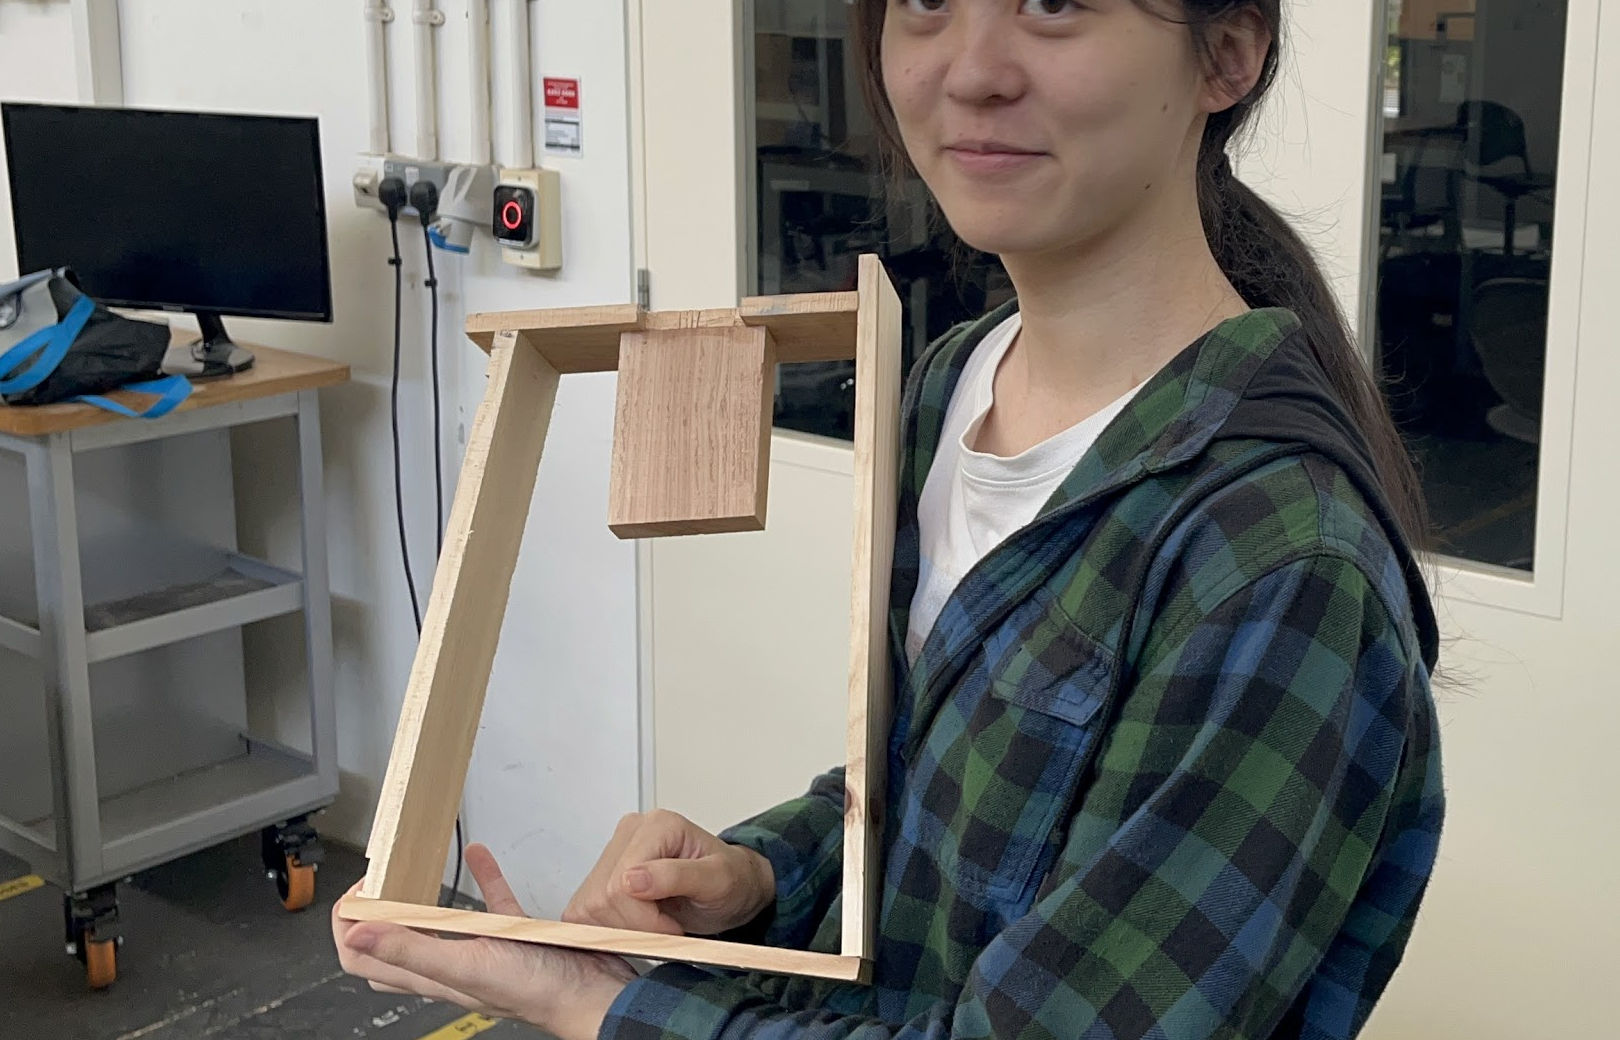
Parallely, Jenny had been silently watching me bodging my way through making the guitar, and very in a careful manner, was puting hers together.
After a copious amount of sanding, shaving, and other acts of violence, I added a few layers of wood stain to the body. Please ignore the output jack corner that looks like I took a bite out of it. I was hungry.
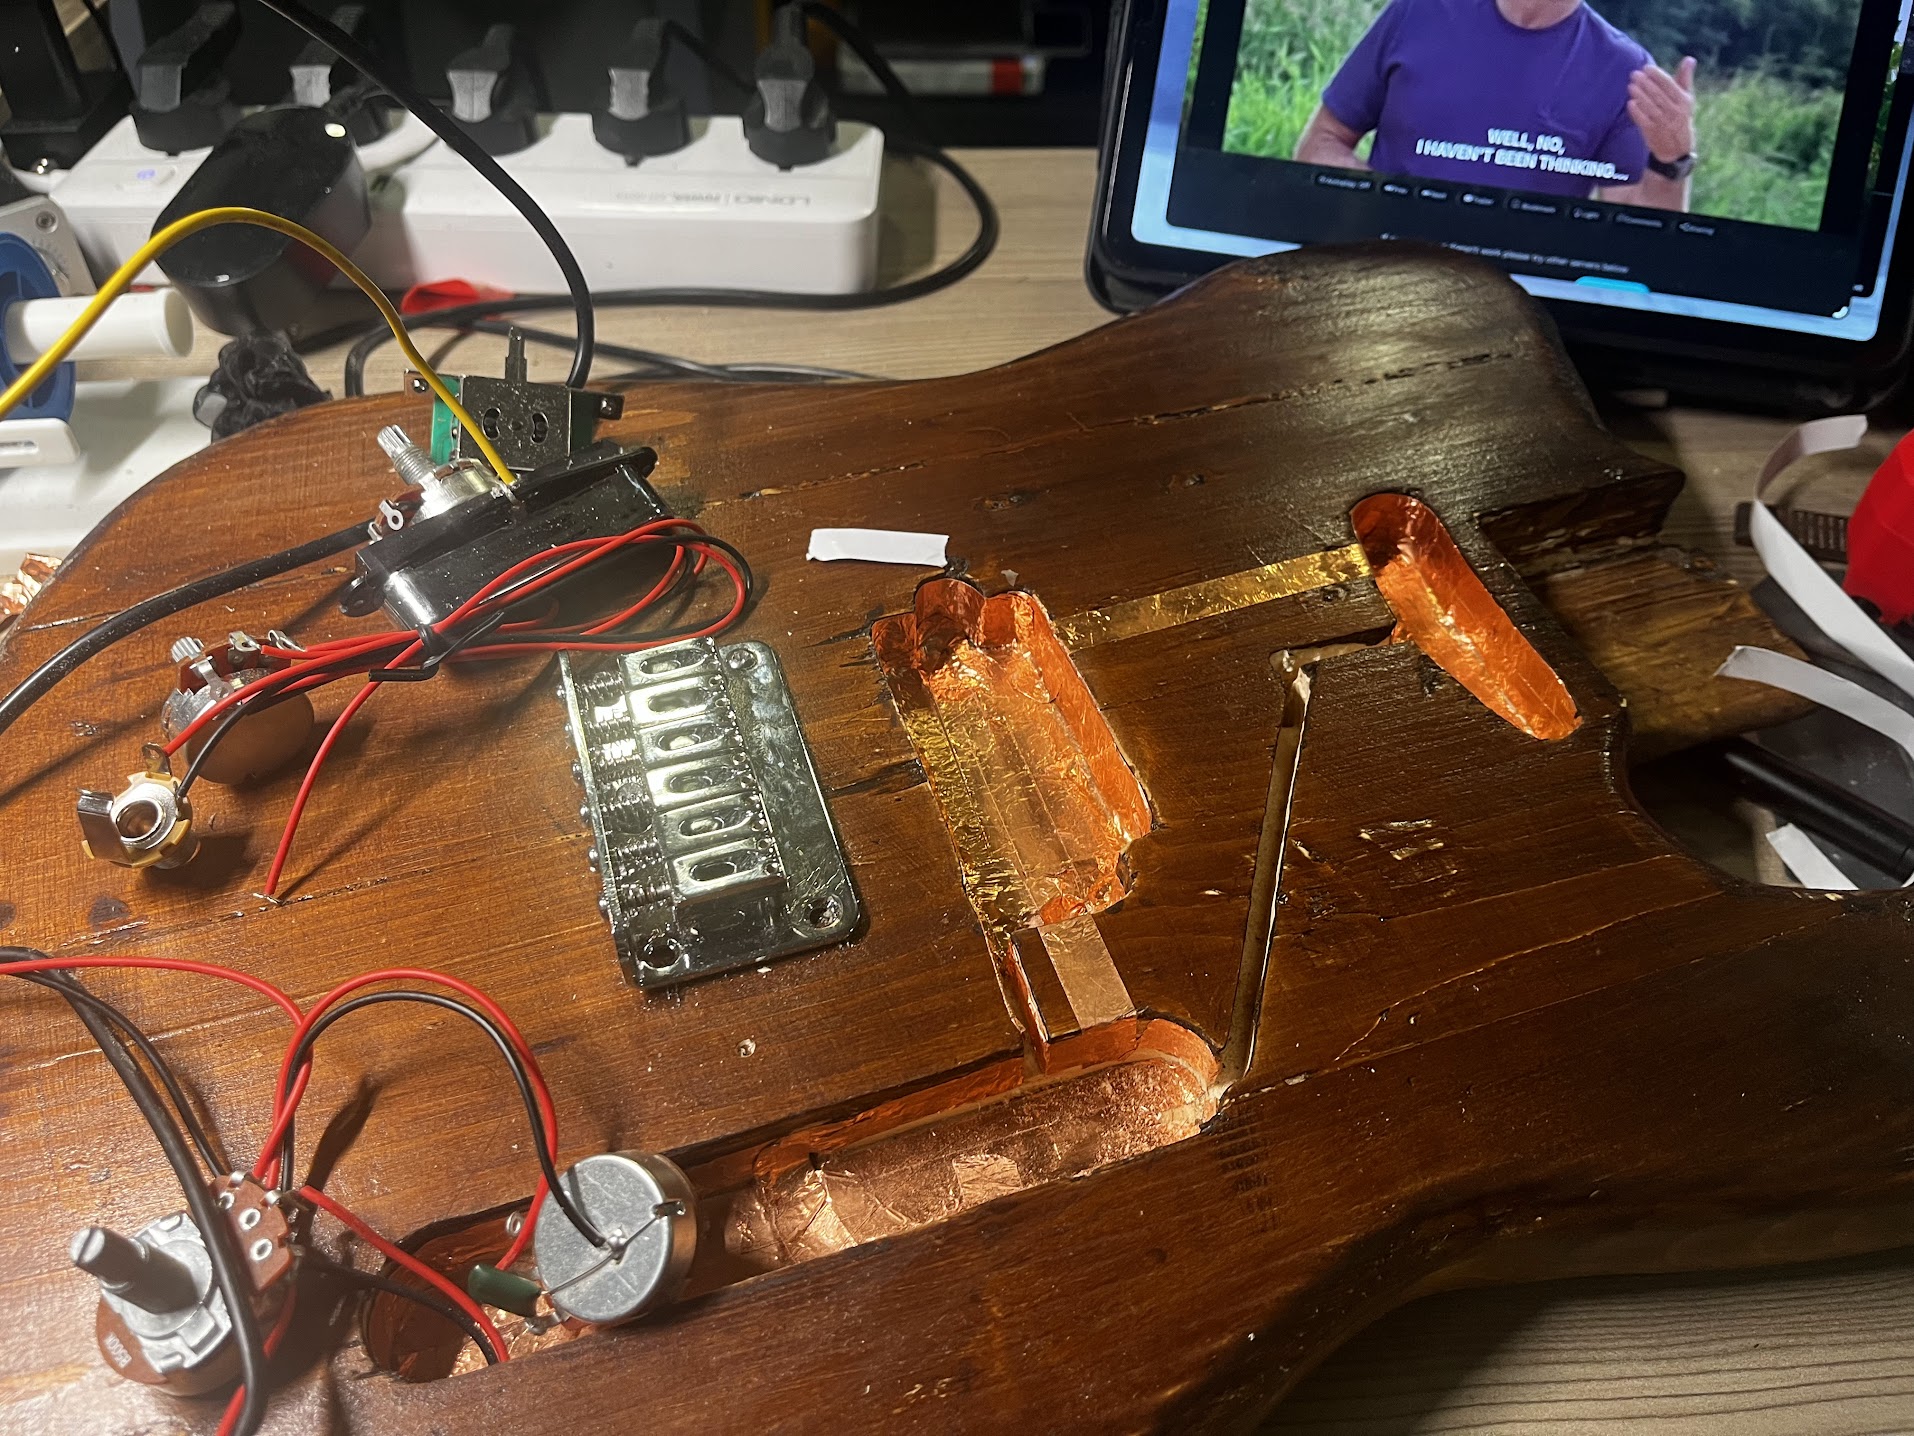
Finally, it was a matter of adding electronics to the body. It was such a pleasure adding copper tape to the insides of the pickup pockets, because the result was so shiny. I almost didn’t want to cover it up.
For the sake of simplicty, I treated the two coils of the humbucker pickup as one coil, so that when I’m using the guitar with the bridge pickup, it uses both coils at once, making it sound juicy.
Meanwhile Jenny handcarved some f-holes to allow the hollow body to make noise when unplugged.

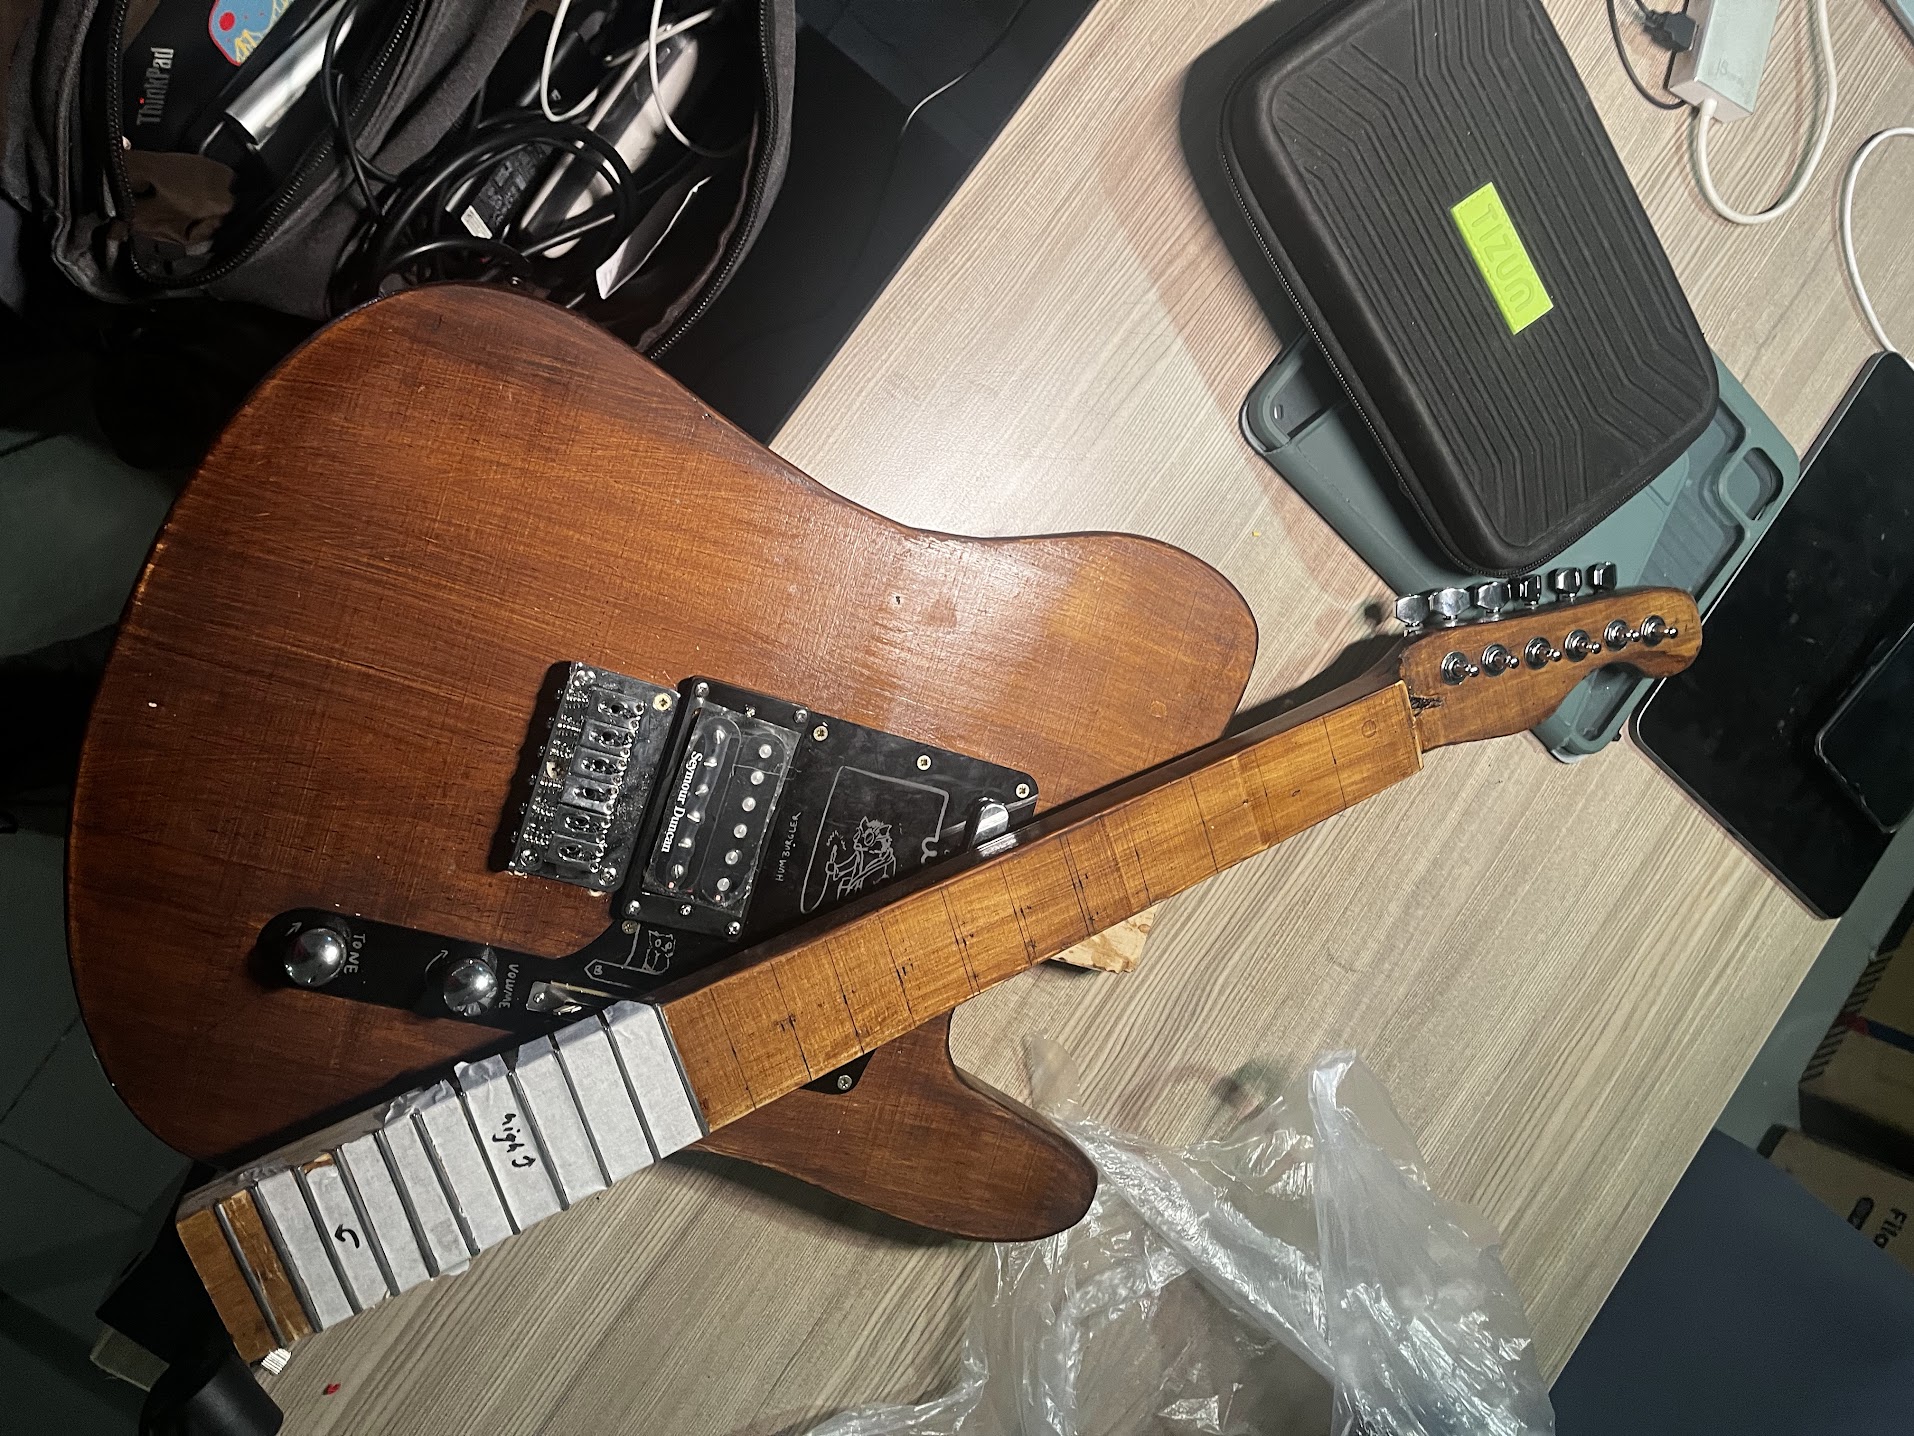
I managed to have some fun with my pickguard. Made from laser cut acrylic.
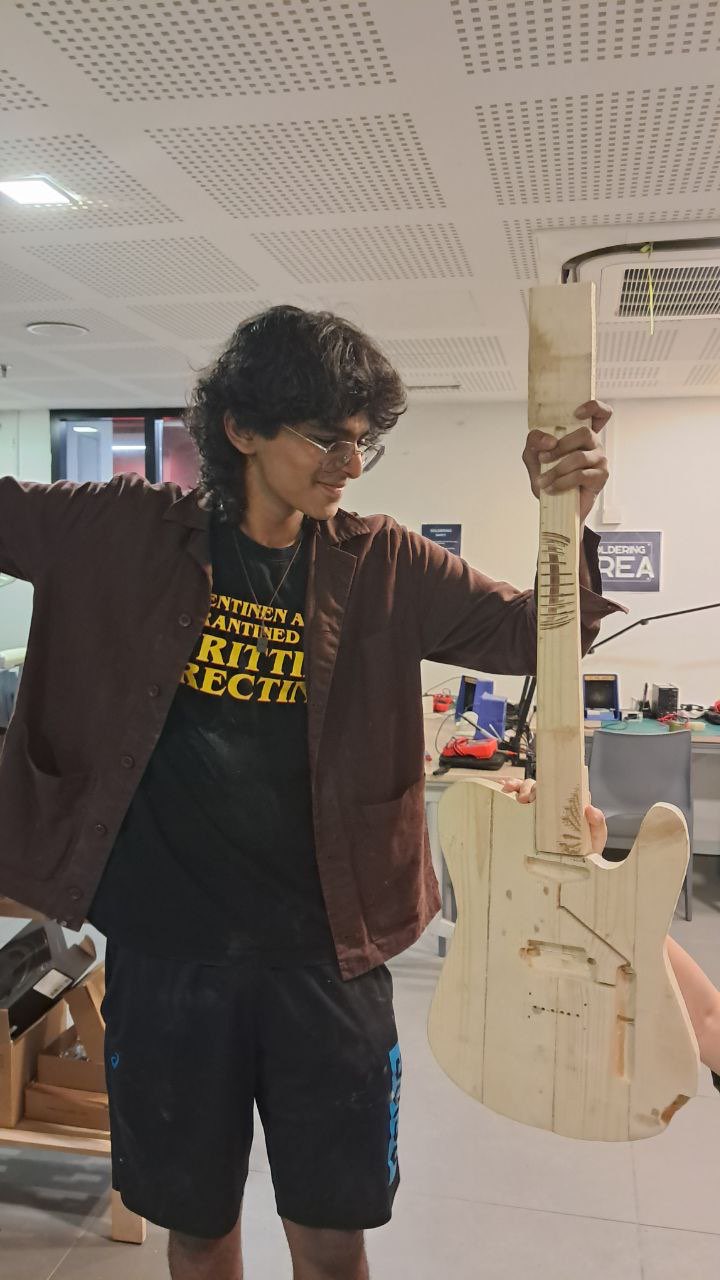
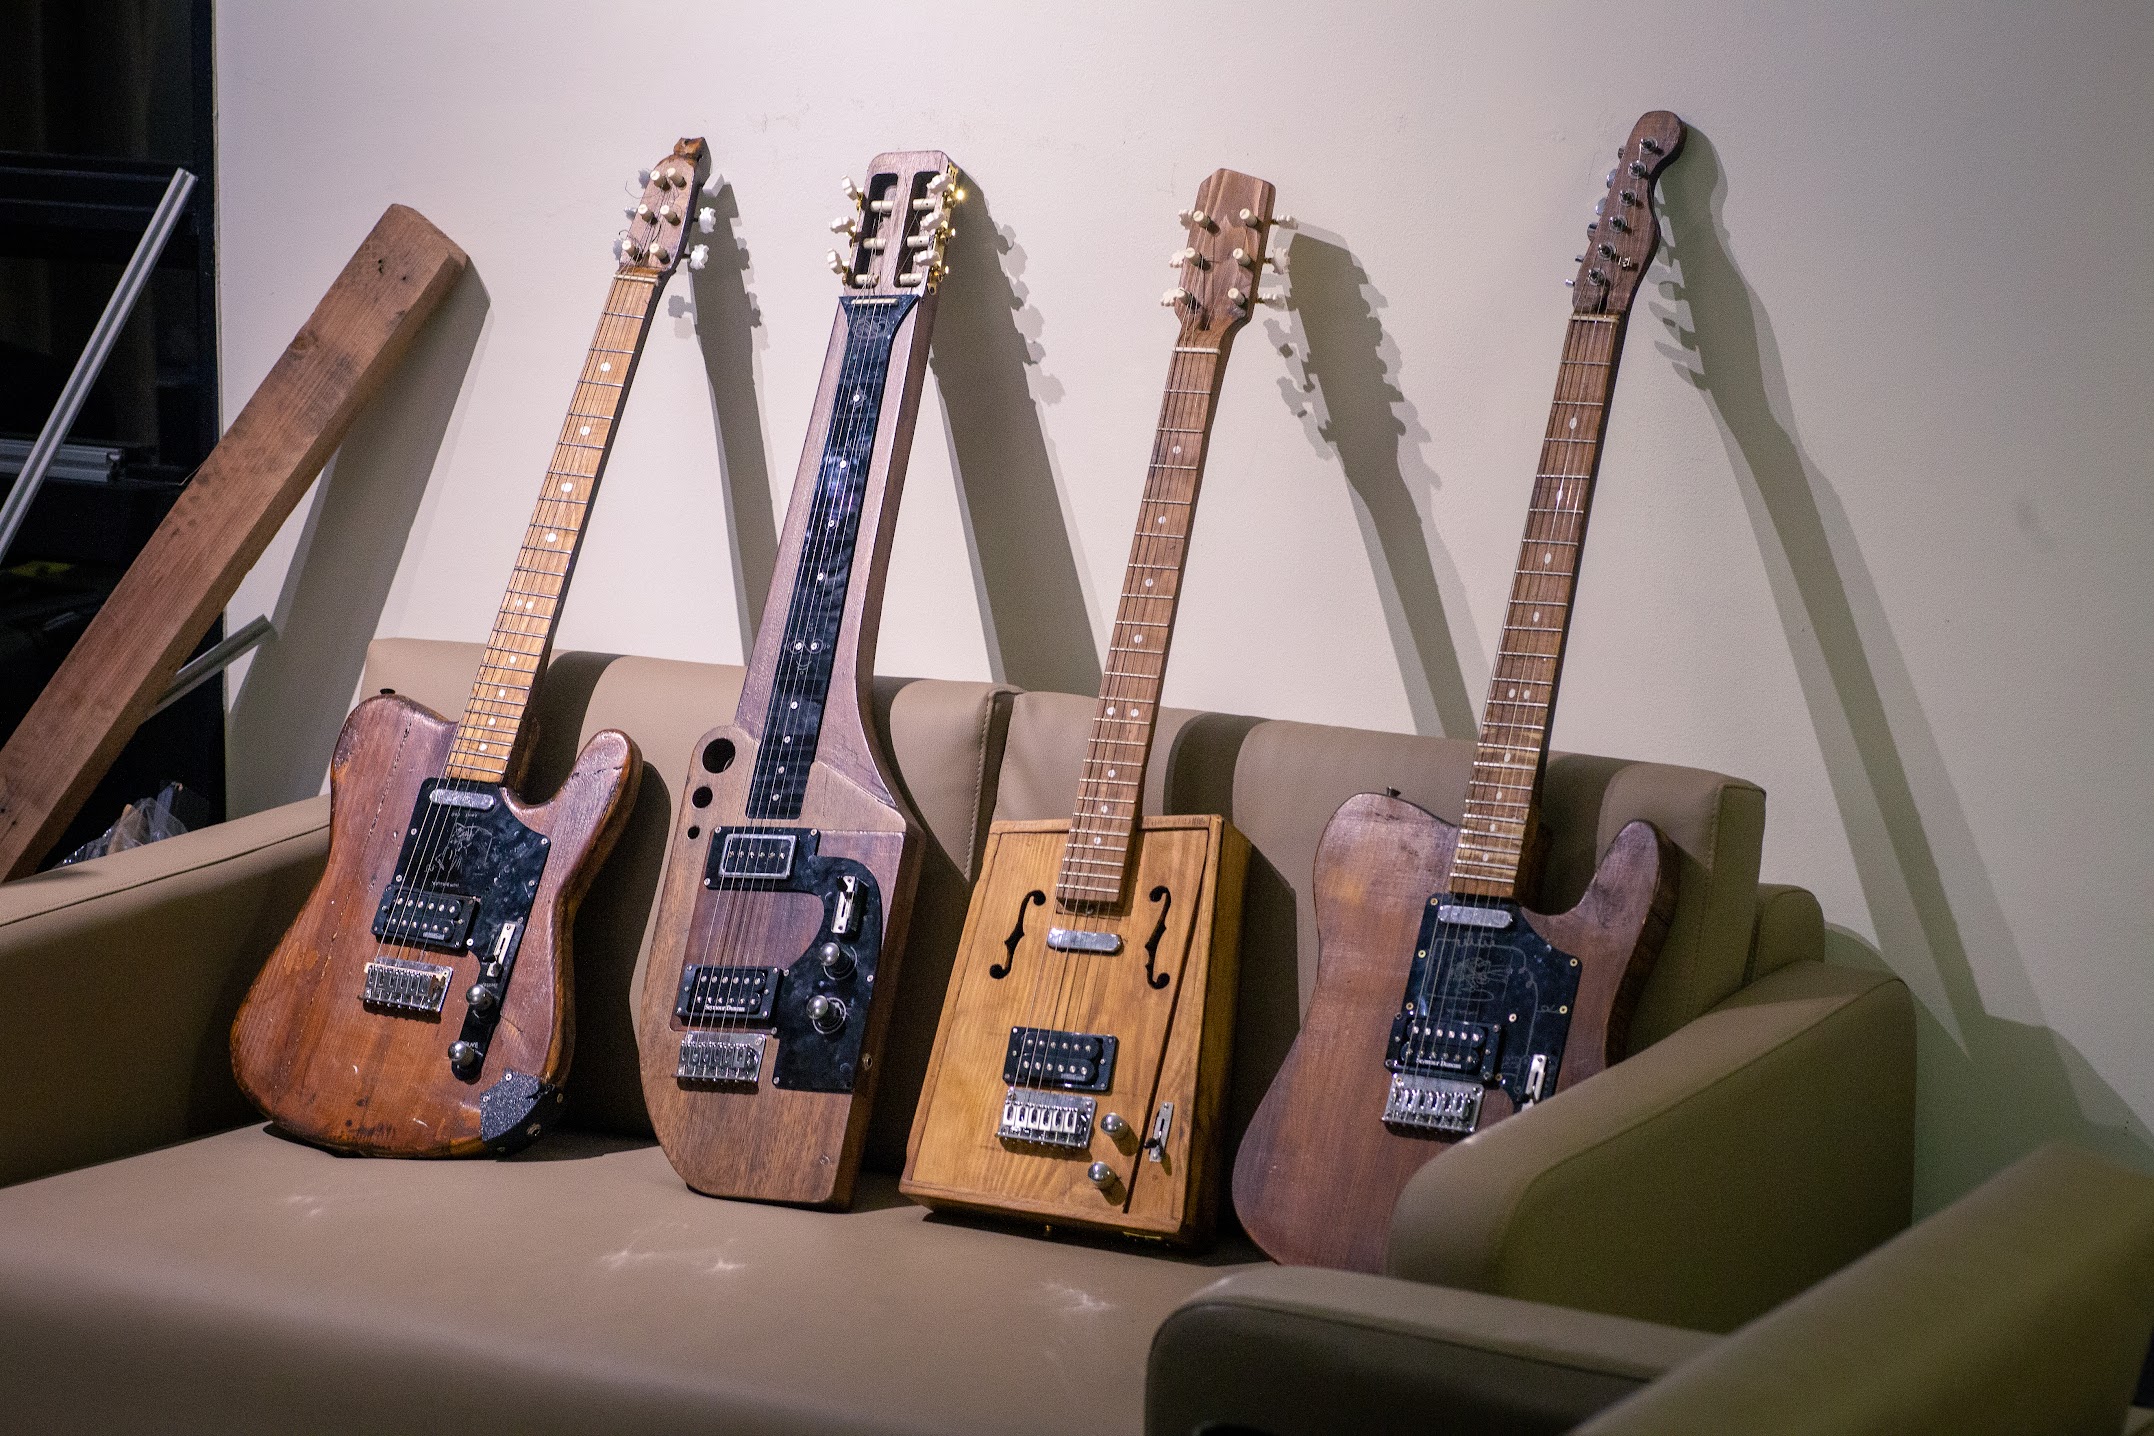
Once everything was sealed up, and the two necks bolted onto the body using some wood screws the first two guitars were ready!
It’s very amusing to me that we used classical guitar tuning pegs for both the first guitars because they were cheaper on Taobao.
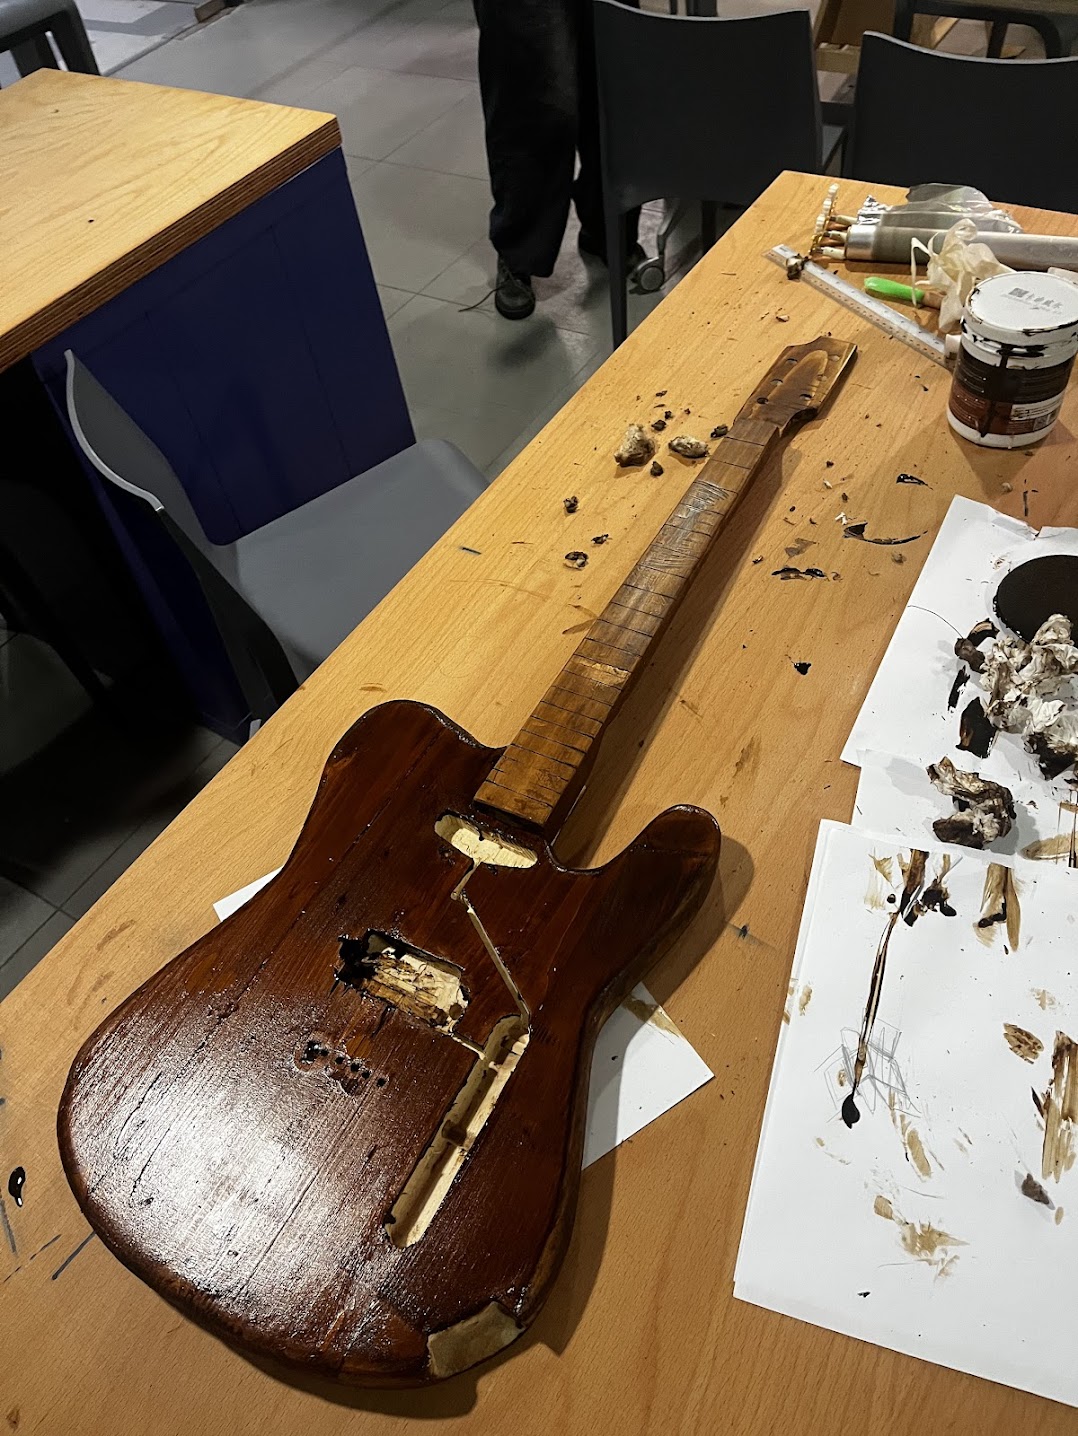
Now I had a few issues with mine, namely the entire neck. I realized almost immidiately that the neck I had created was far too thick and several of the frets were unevenly attached to the body. I’ve made little mention of it so far but fretwork was the single most painful part of the entire process. It’s tedious, difficult to get right, and not the easiest to recover from if it goes wrong. Plus if they’re not seated in properly, the second you hammer the next fret in, the fret you just hammered in flies off.
From here I did the sane thing and created a duplicate Telecaster to fix all these issues, this time getting some spare wood from someone who bought the wrong size of wood they needed for a shelf. I love Carousell. I was a lot more careful with the routing, and I also created a new neck to replace the neck on the first guitar.
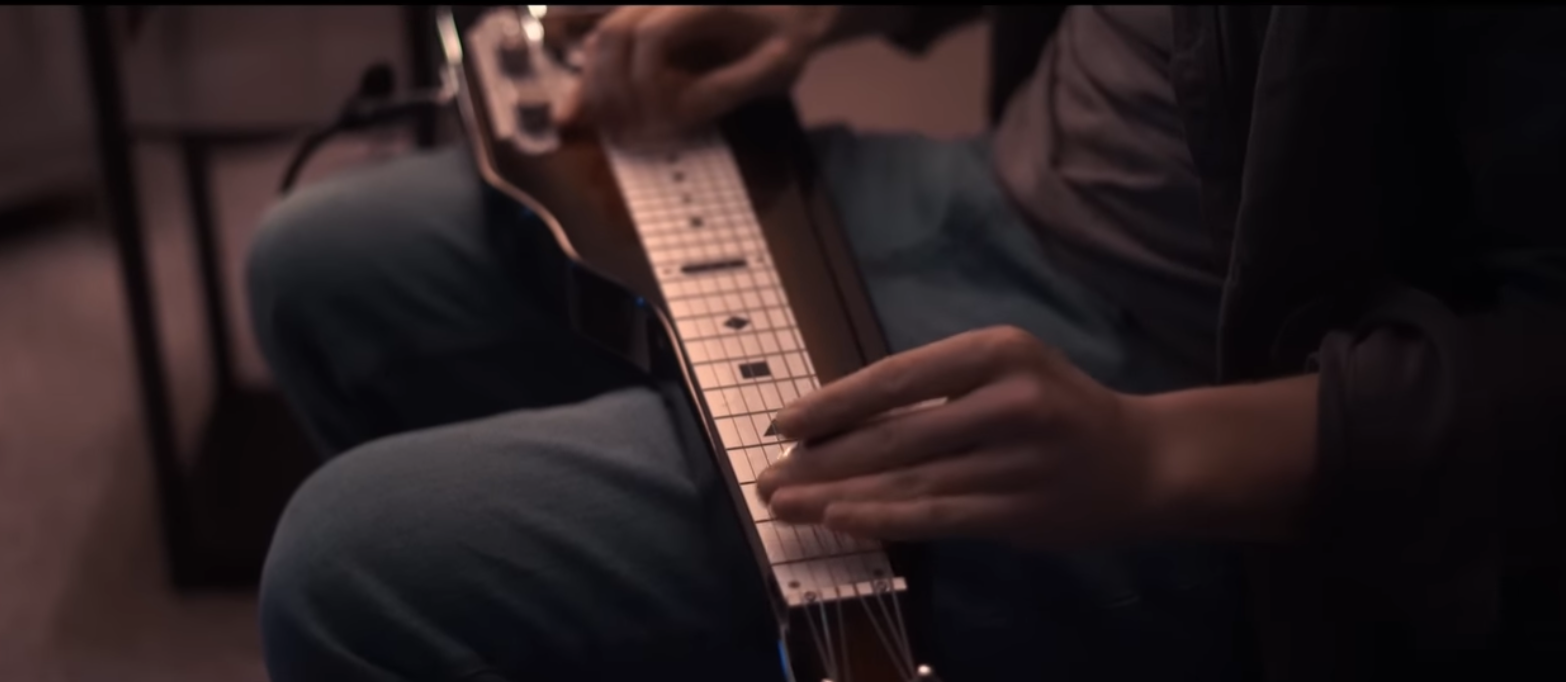
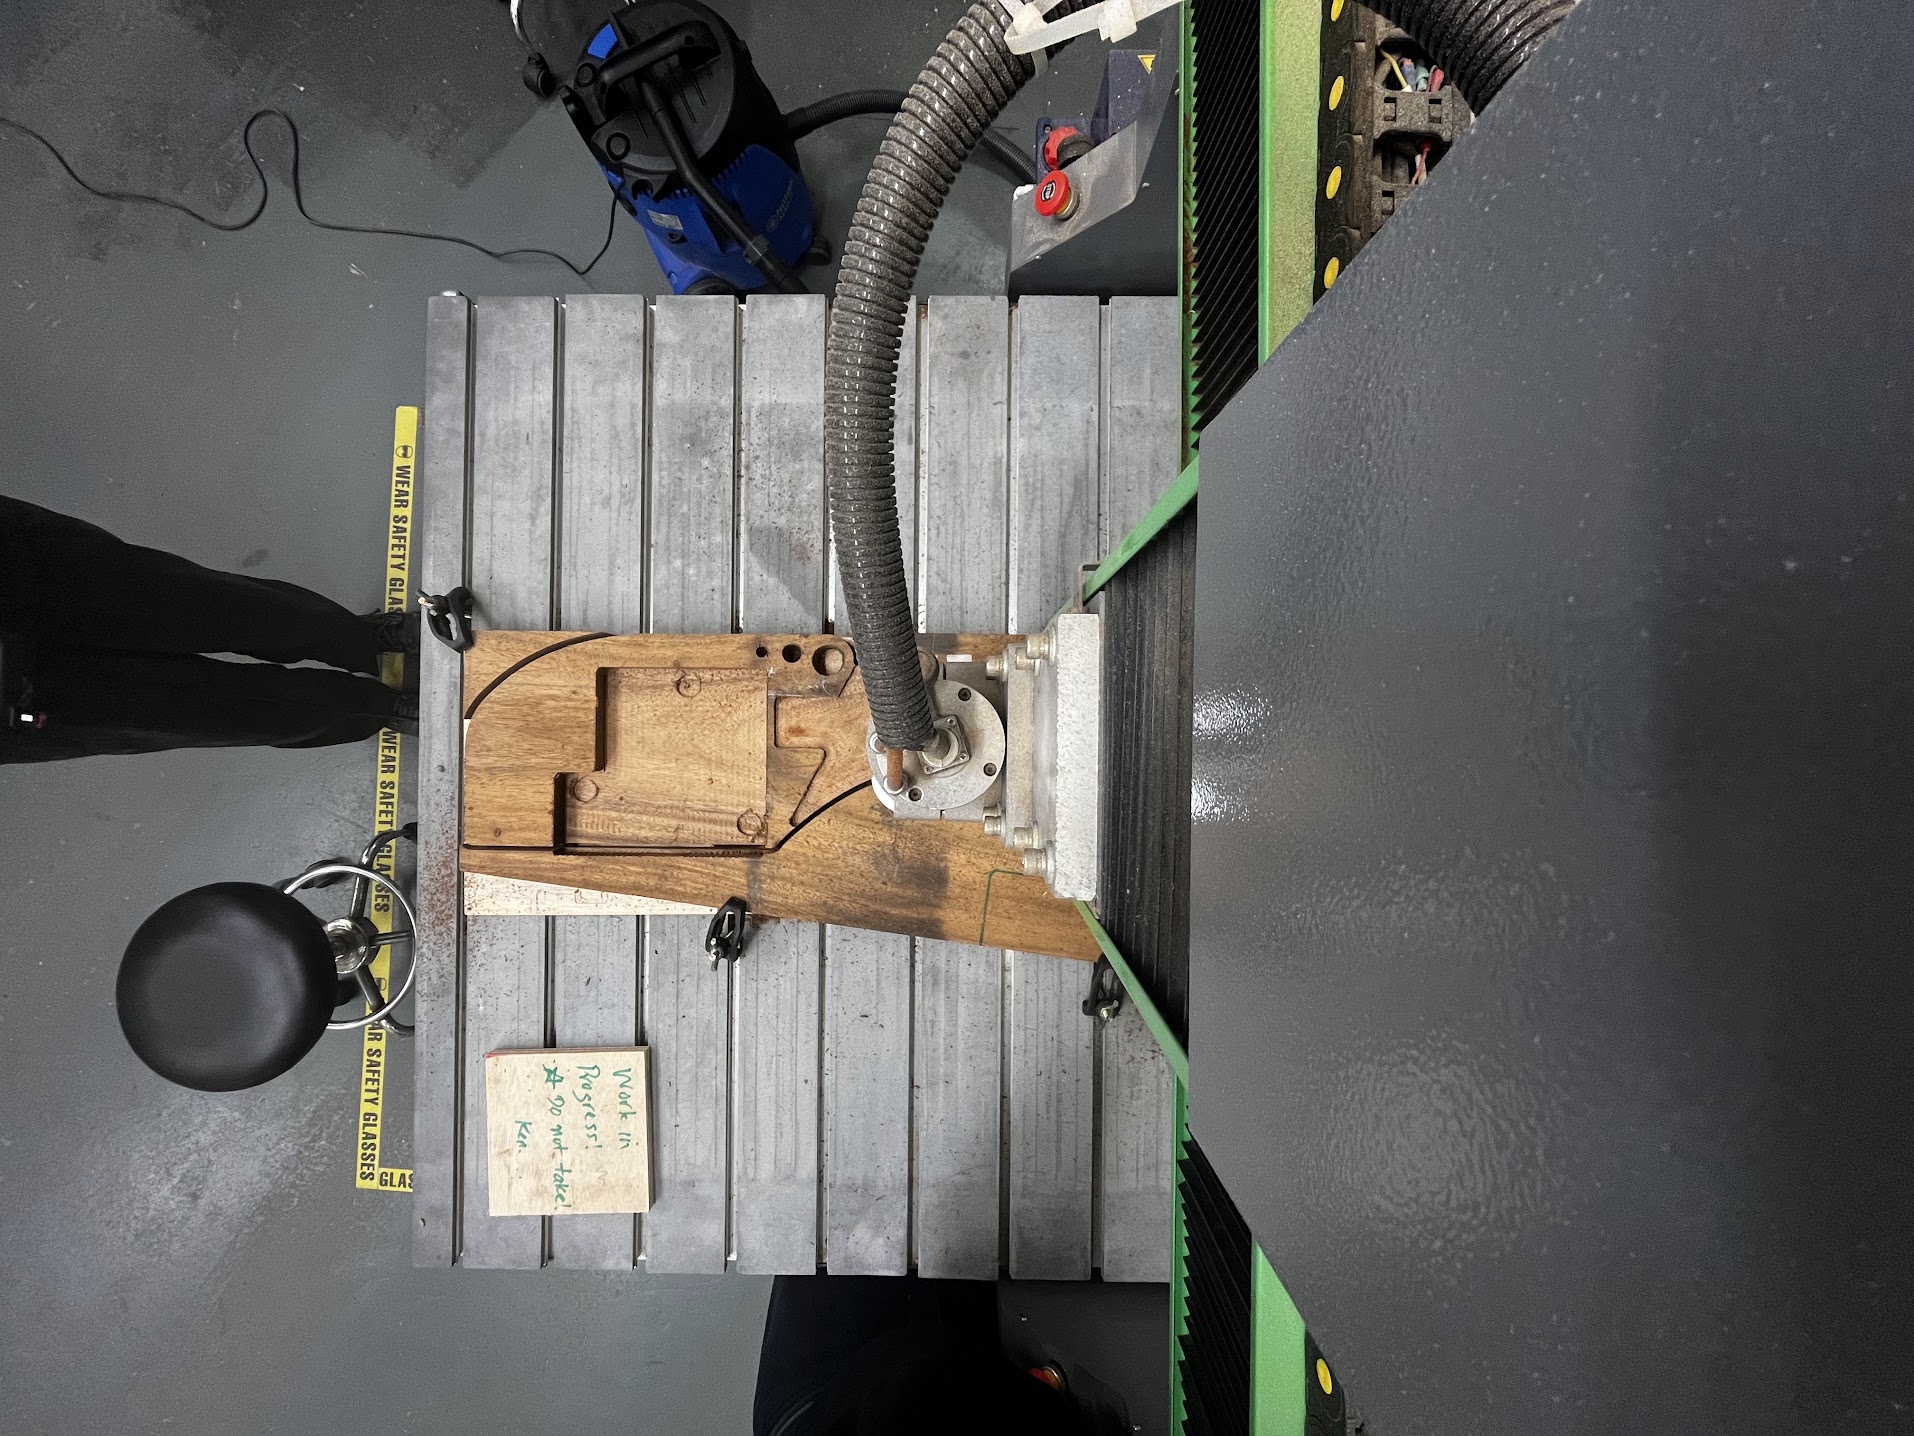
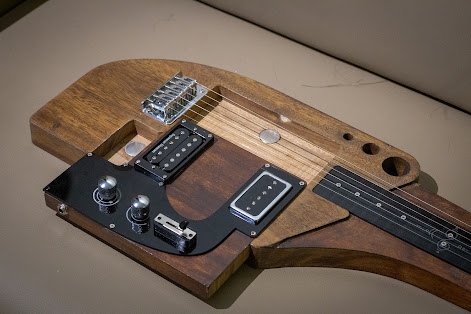
Now to provide some background, the assembly and creation of these guitars were done almost entirely in SUTD’s Fabrication Lab, which caught the attention of the woodworking staff (known as Ken). As a part of the Fablab’s efforts to showcase new student projects, we were then commissioned to make a new guitar for the lab. We jumped on it immidiately and began work on a lapsteel guitar inspired by Chase Eagleson’s cover of Landslide
We were given a big hunk of wood to work with. We took our measurements and got to drawing. Thankfully Jenny’s an excellent artist, so this stage was a lot of fun.
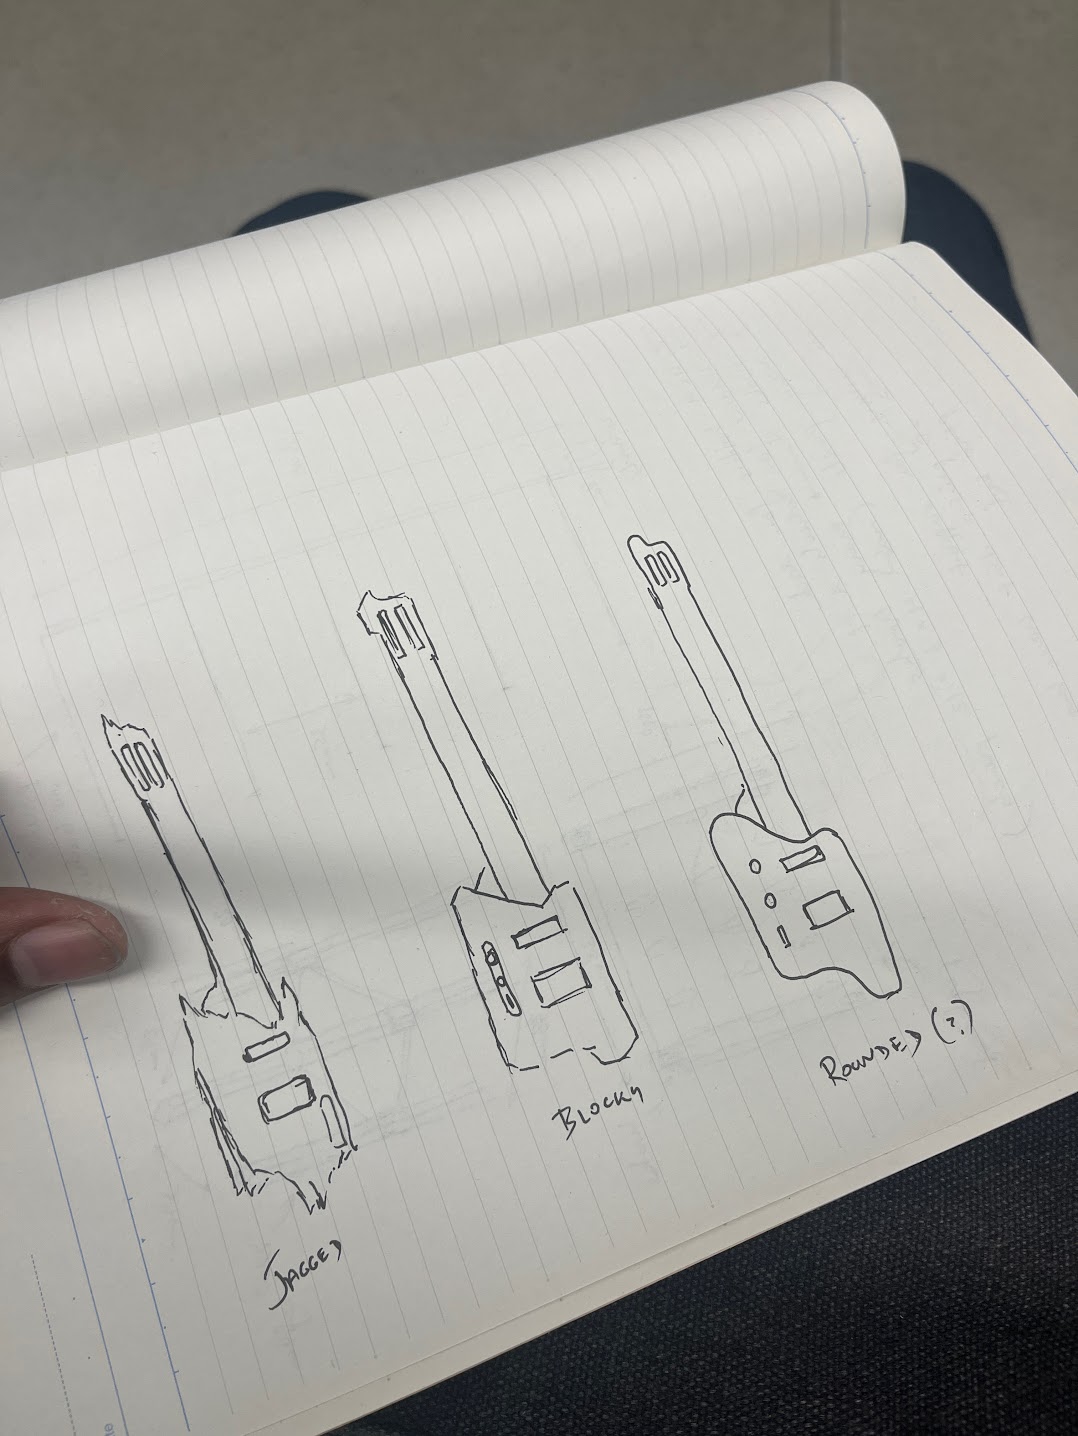
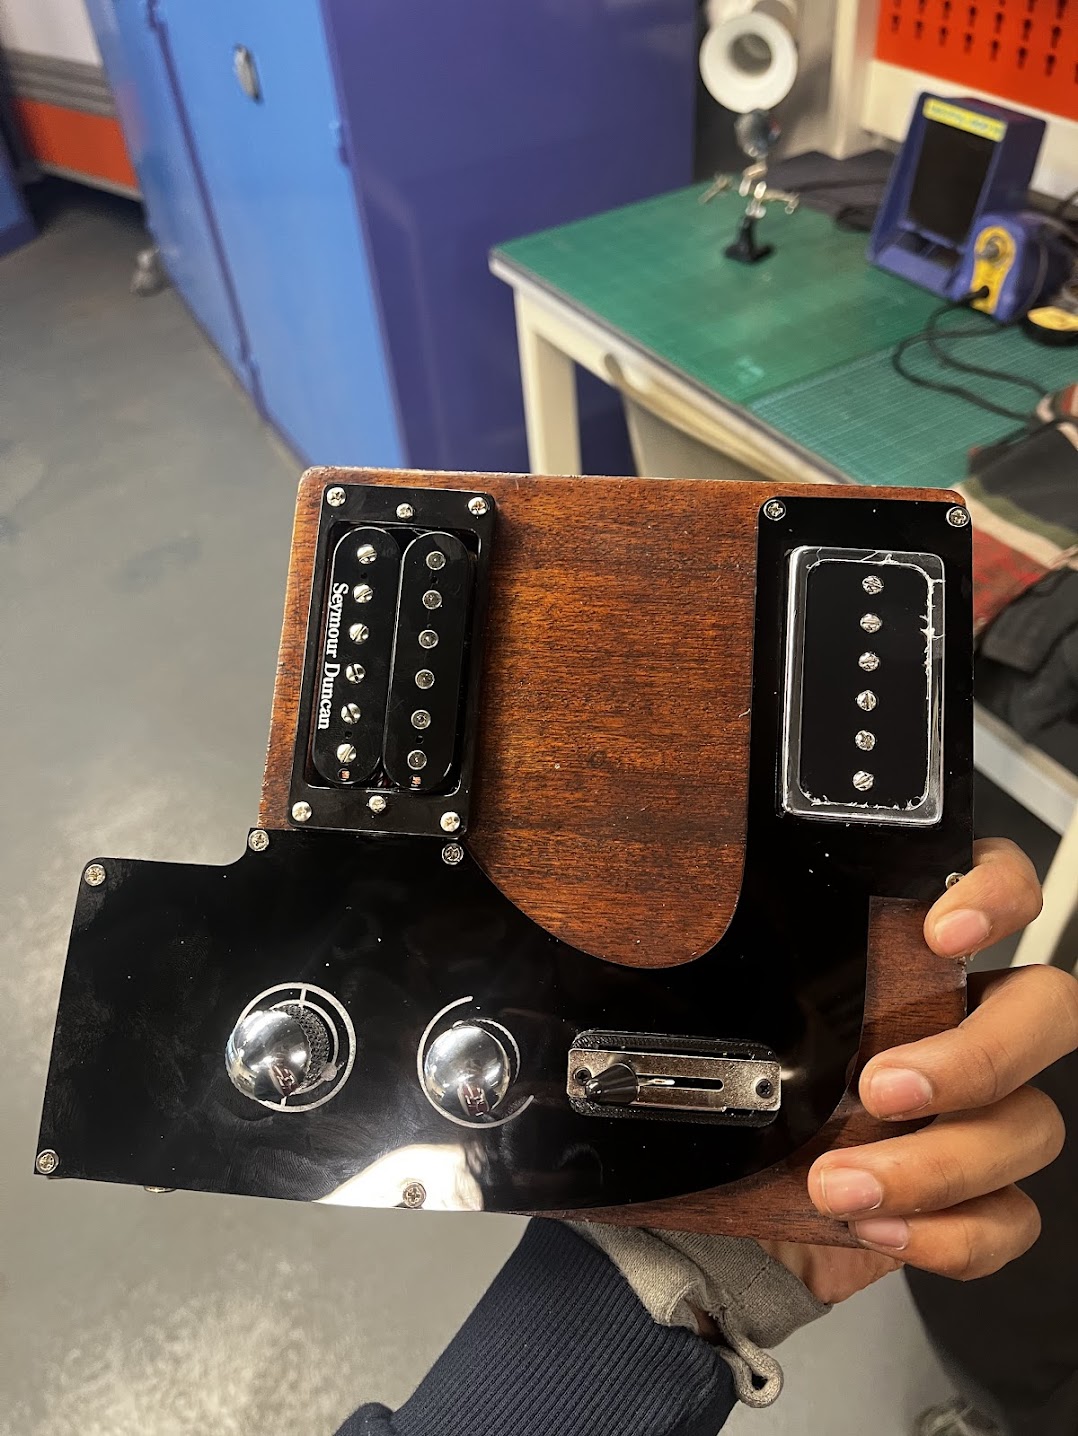
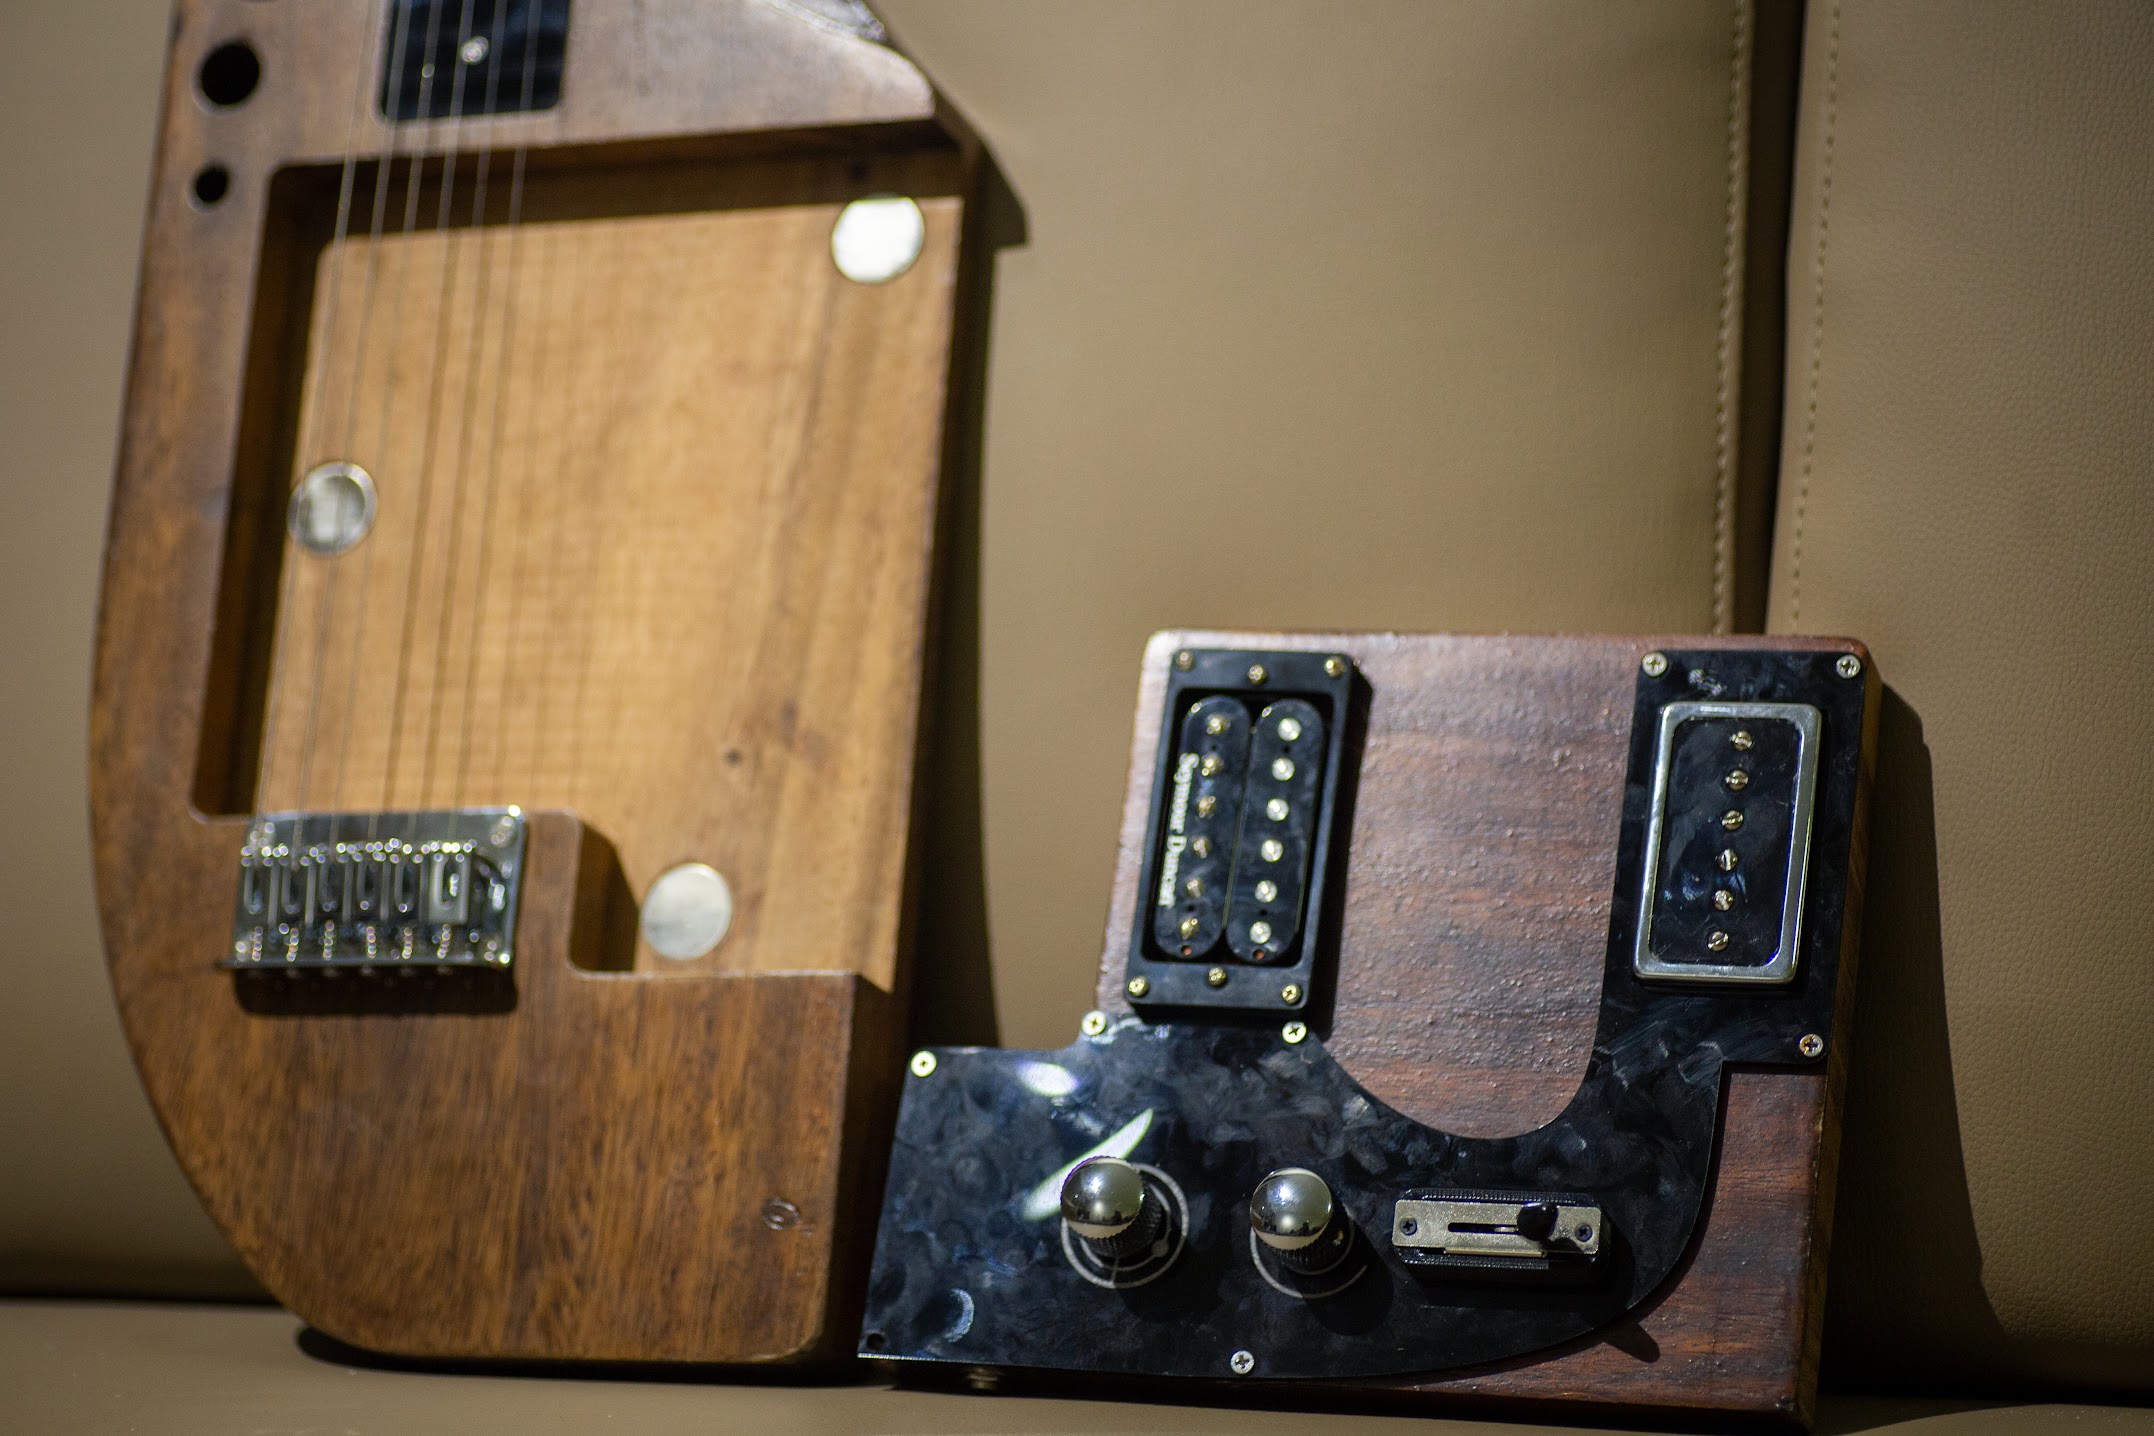
We also thought it’d be fun if the electronics were detachable and you could swap it out for a completely different set of pickups if you wanted to. This was heavily inspired by Magtone guitars.
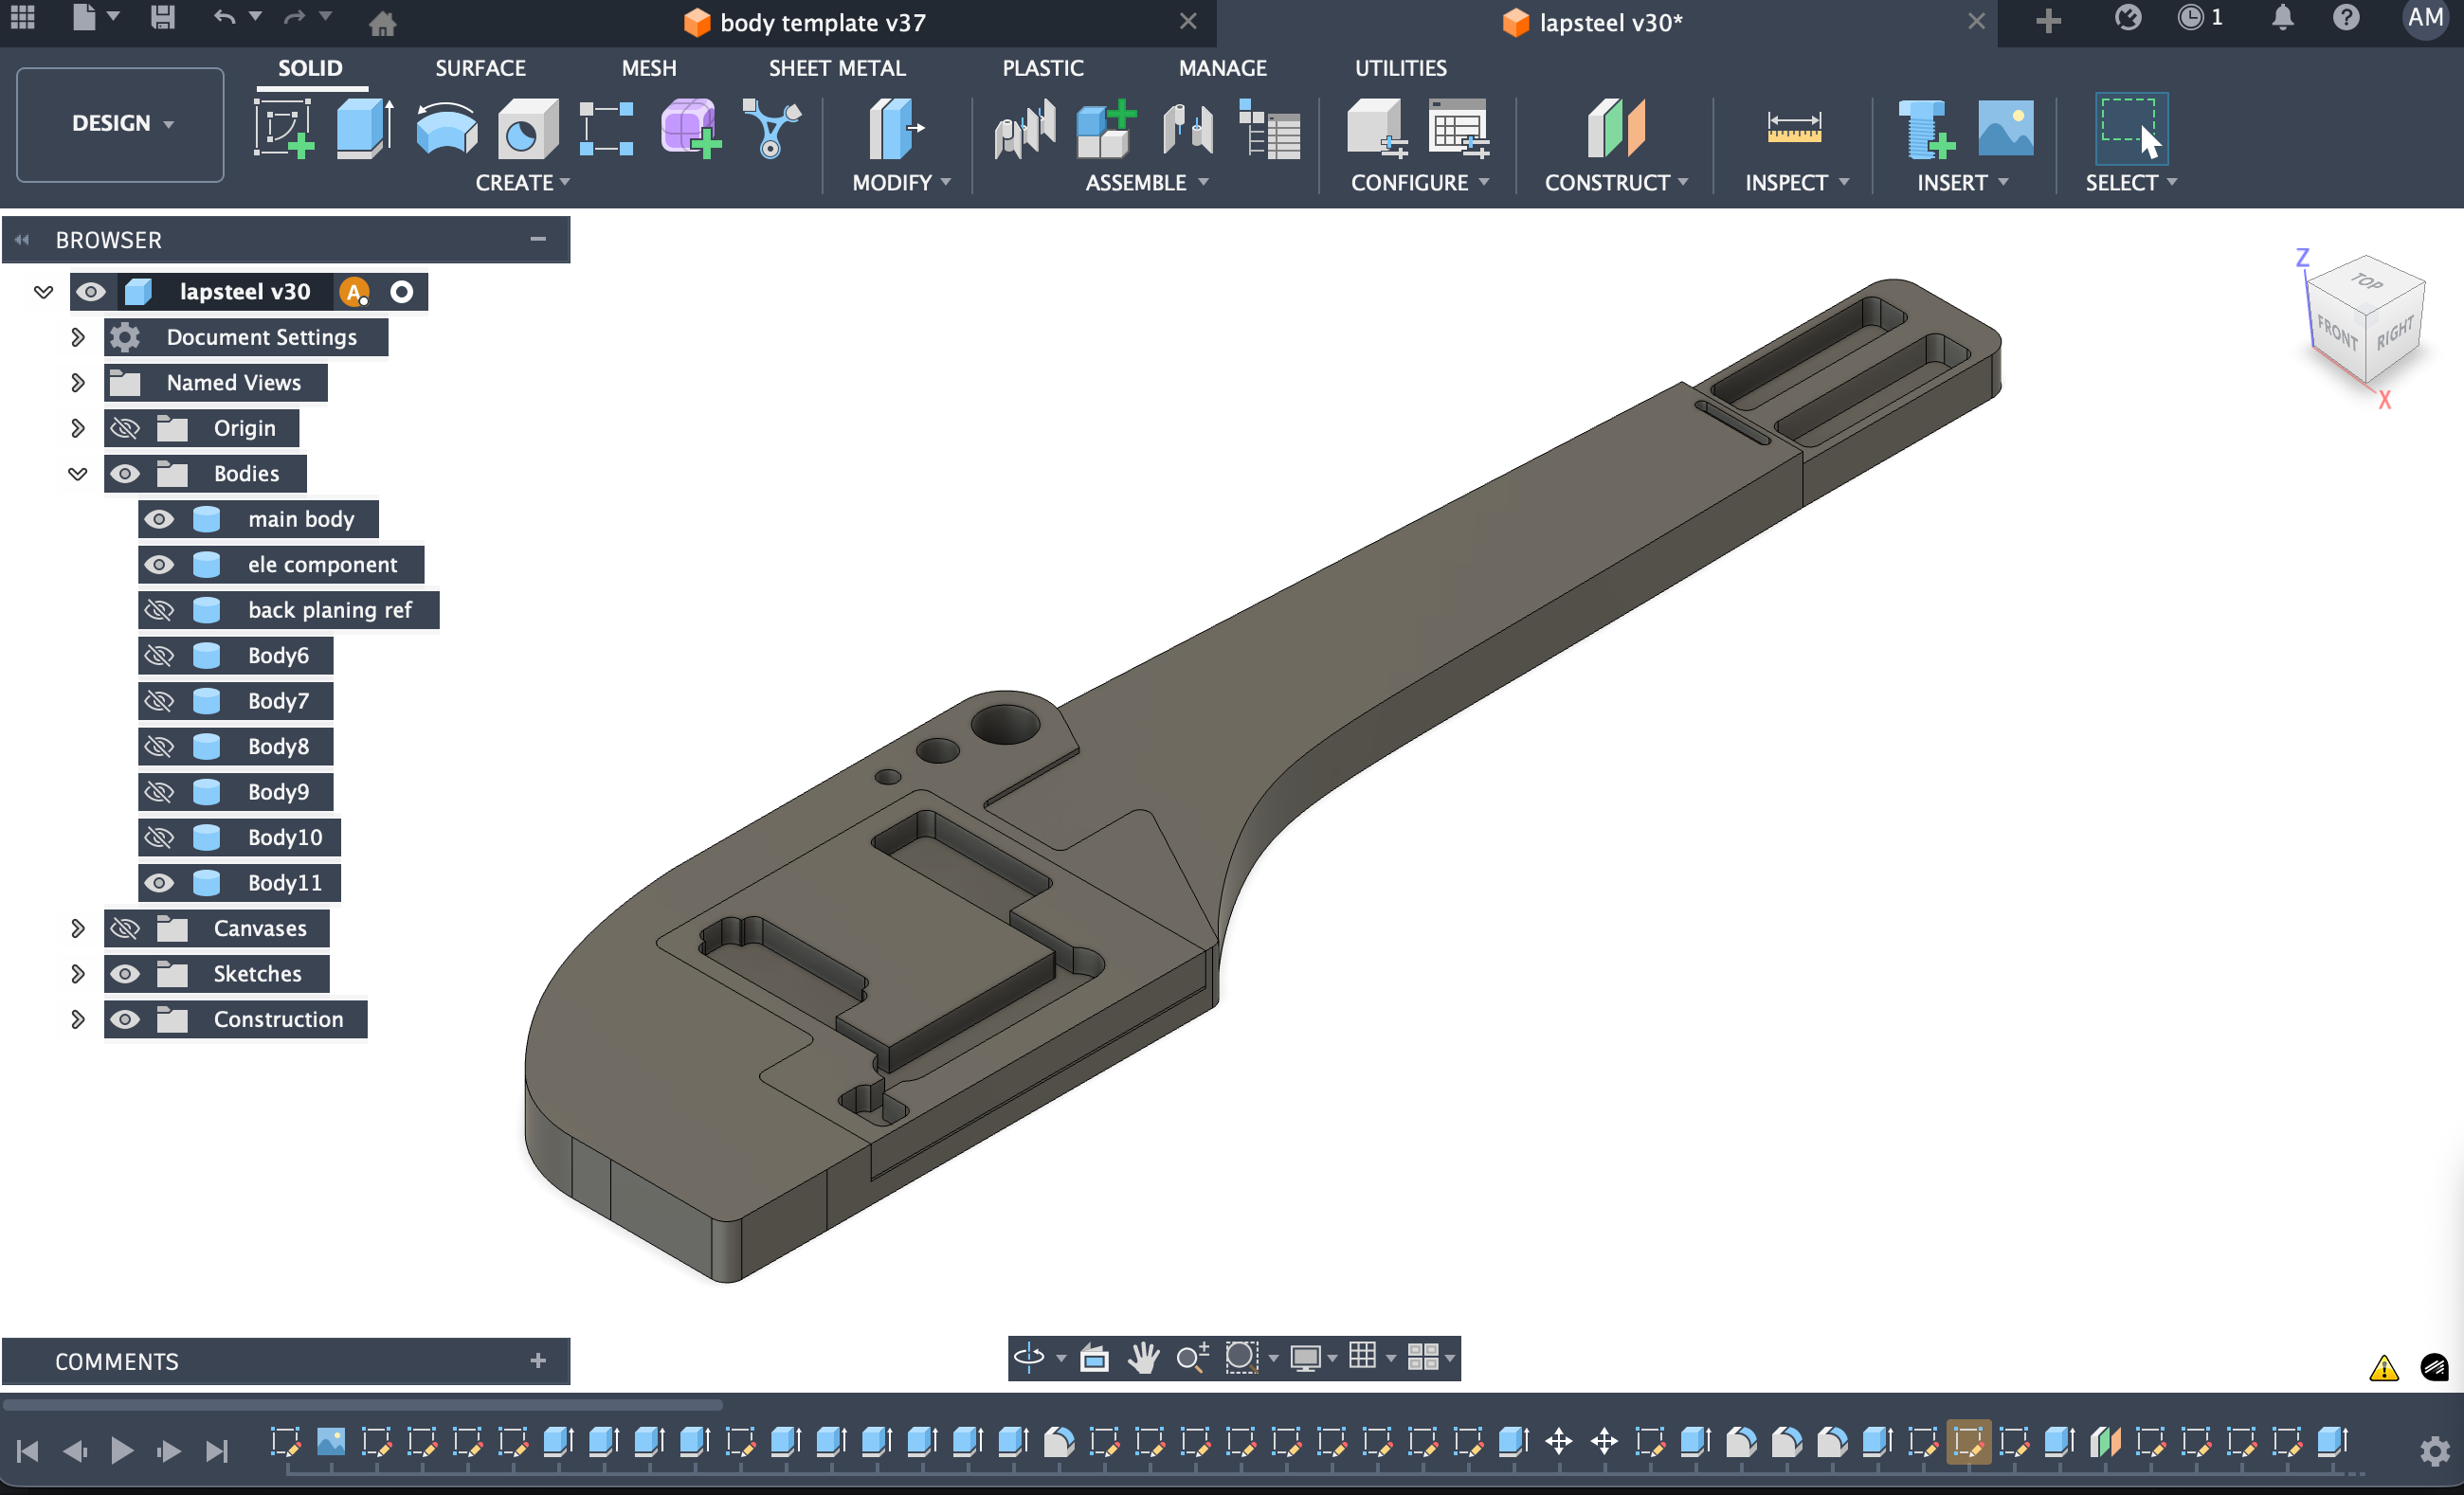
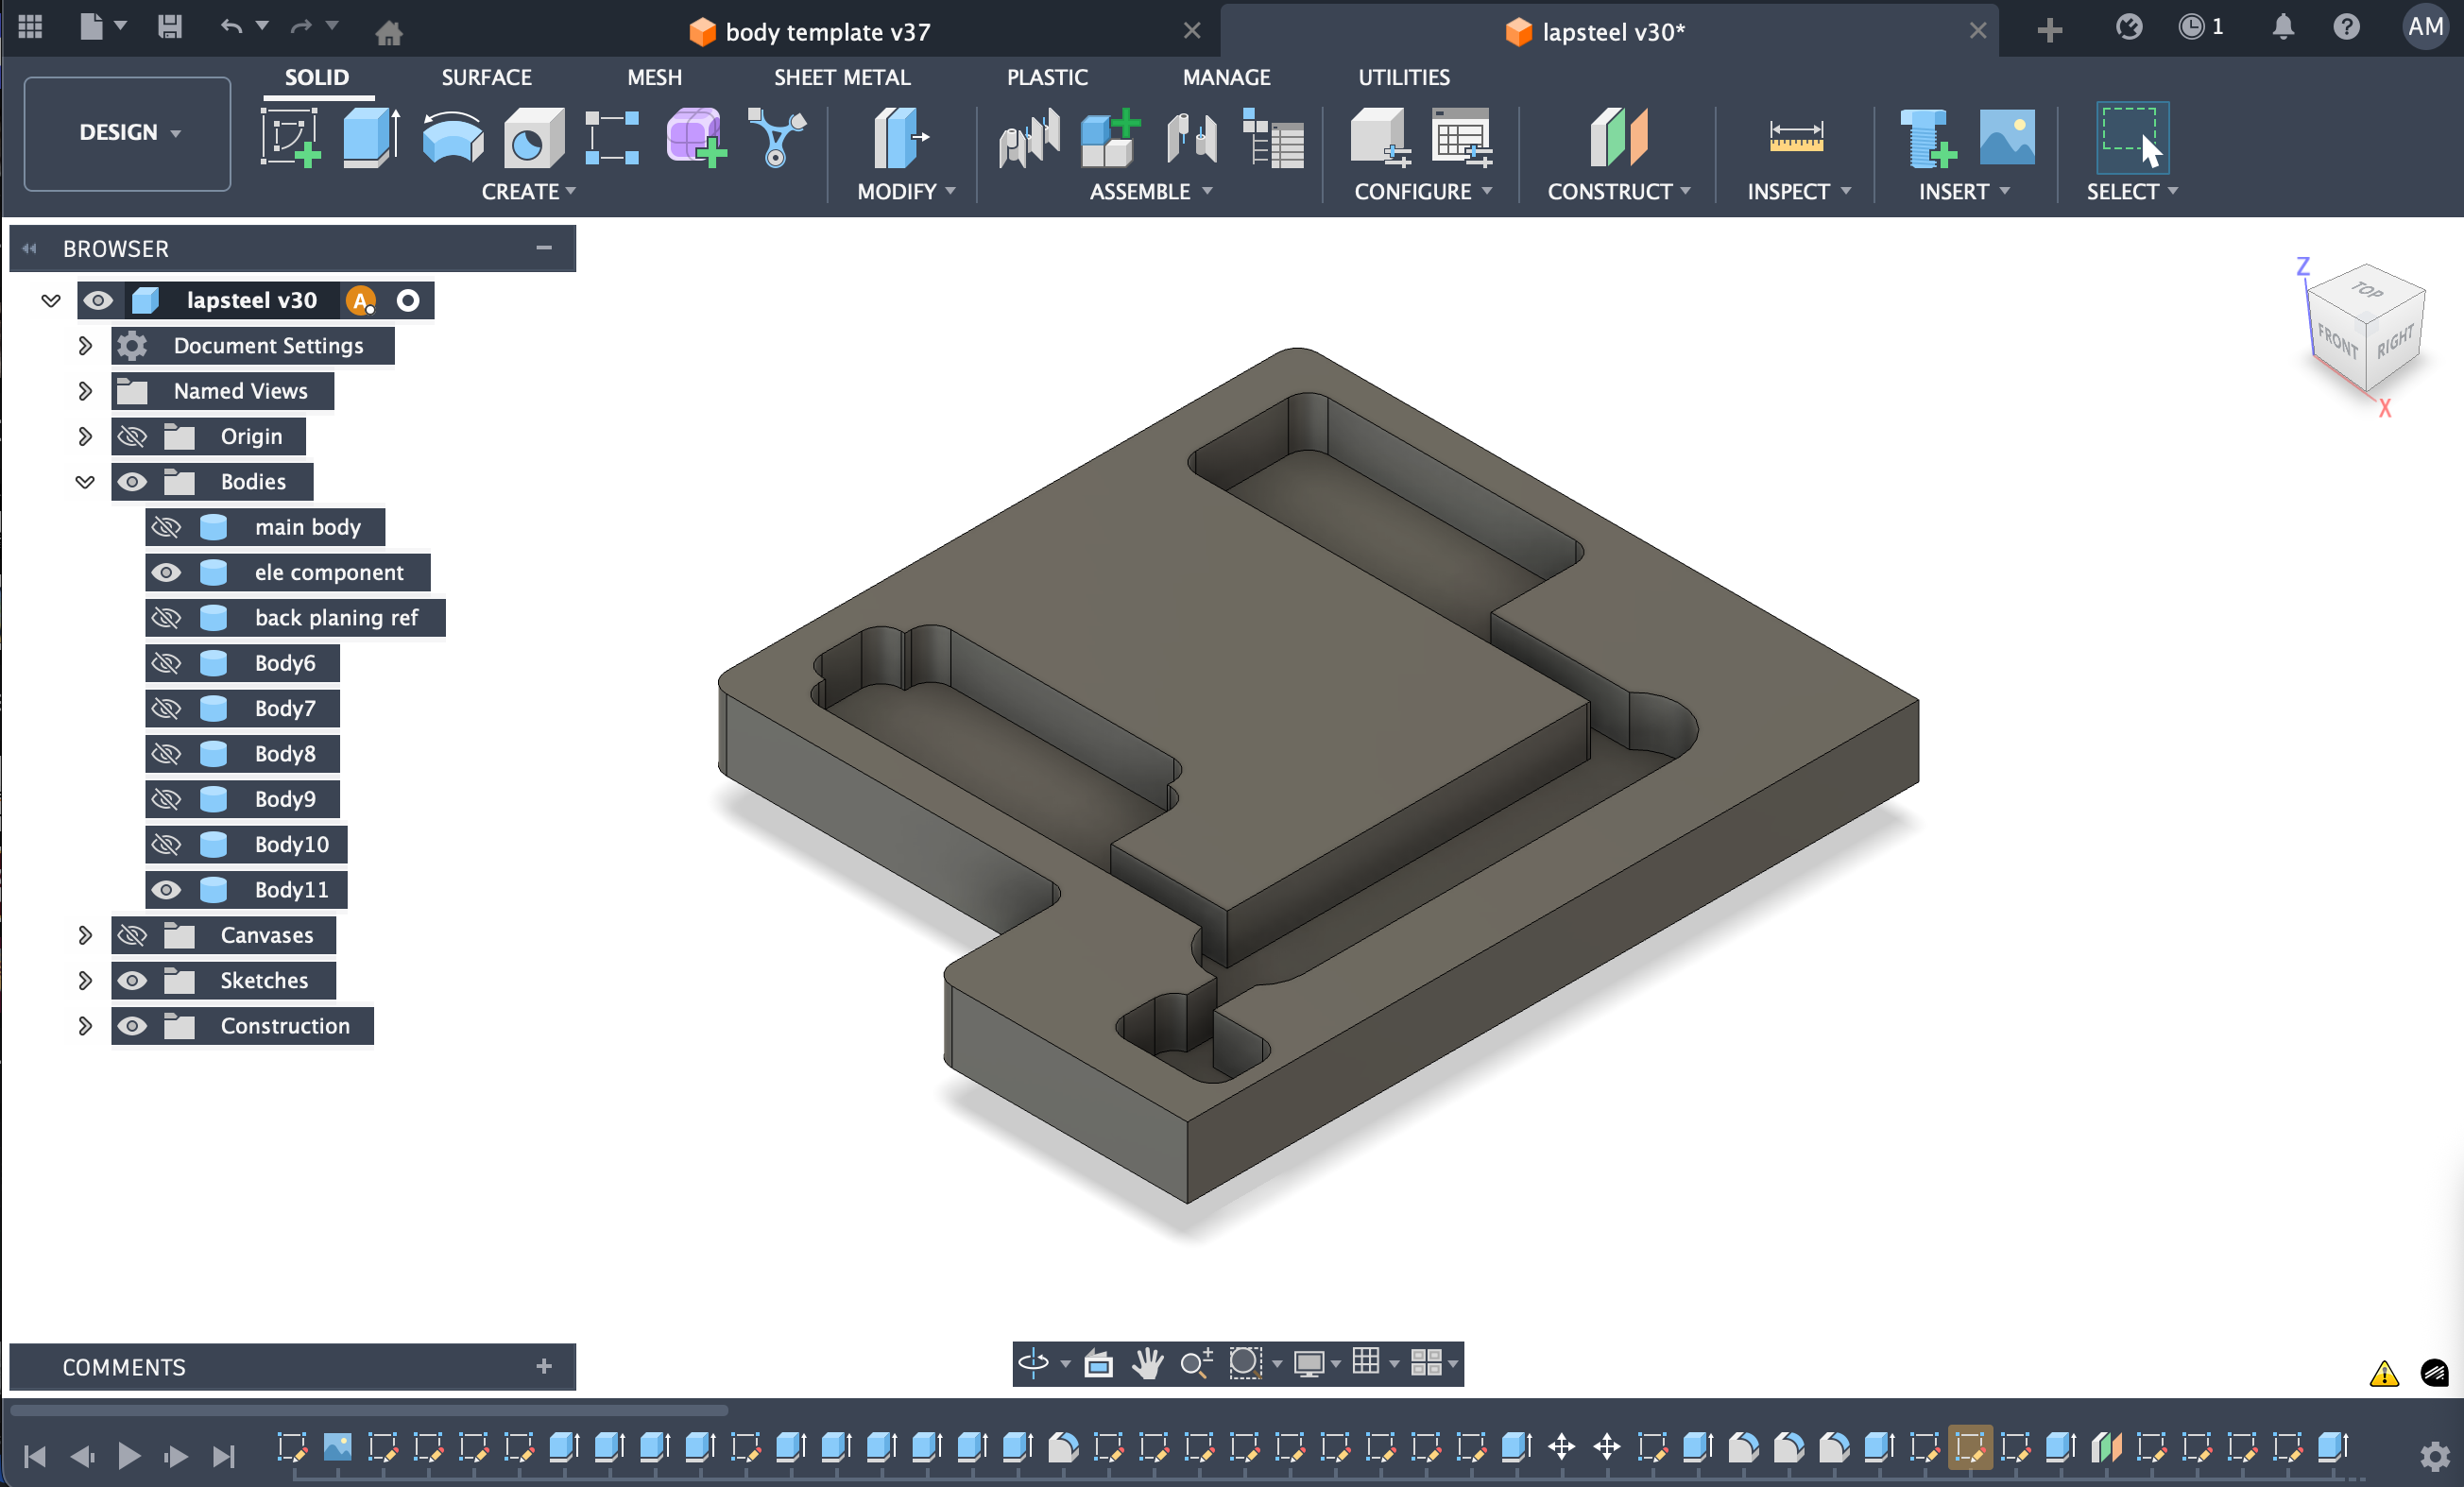
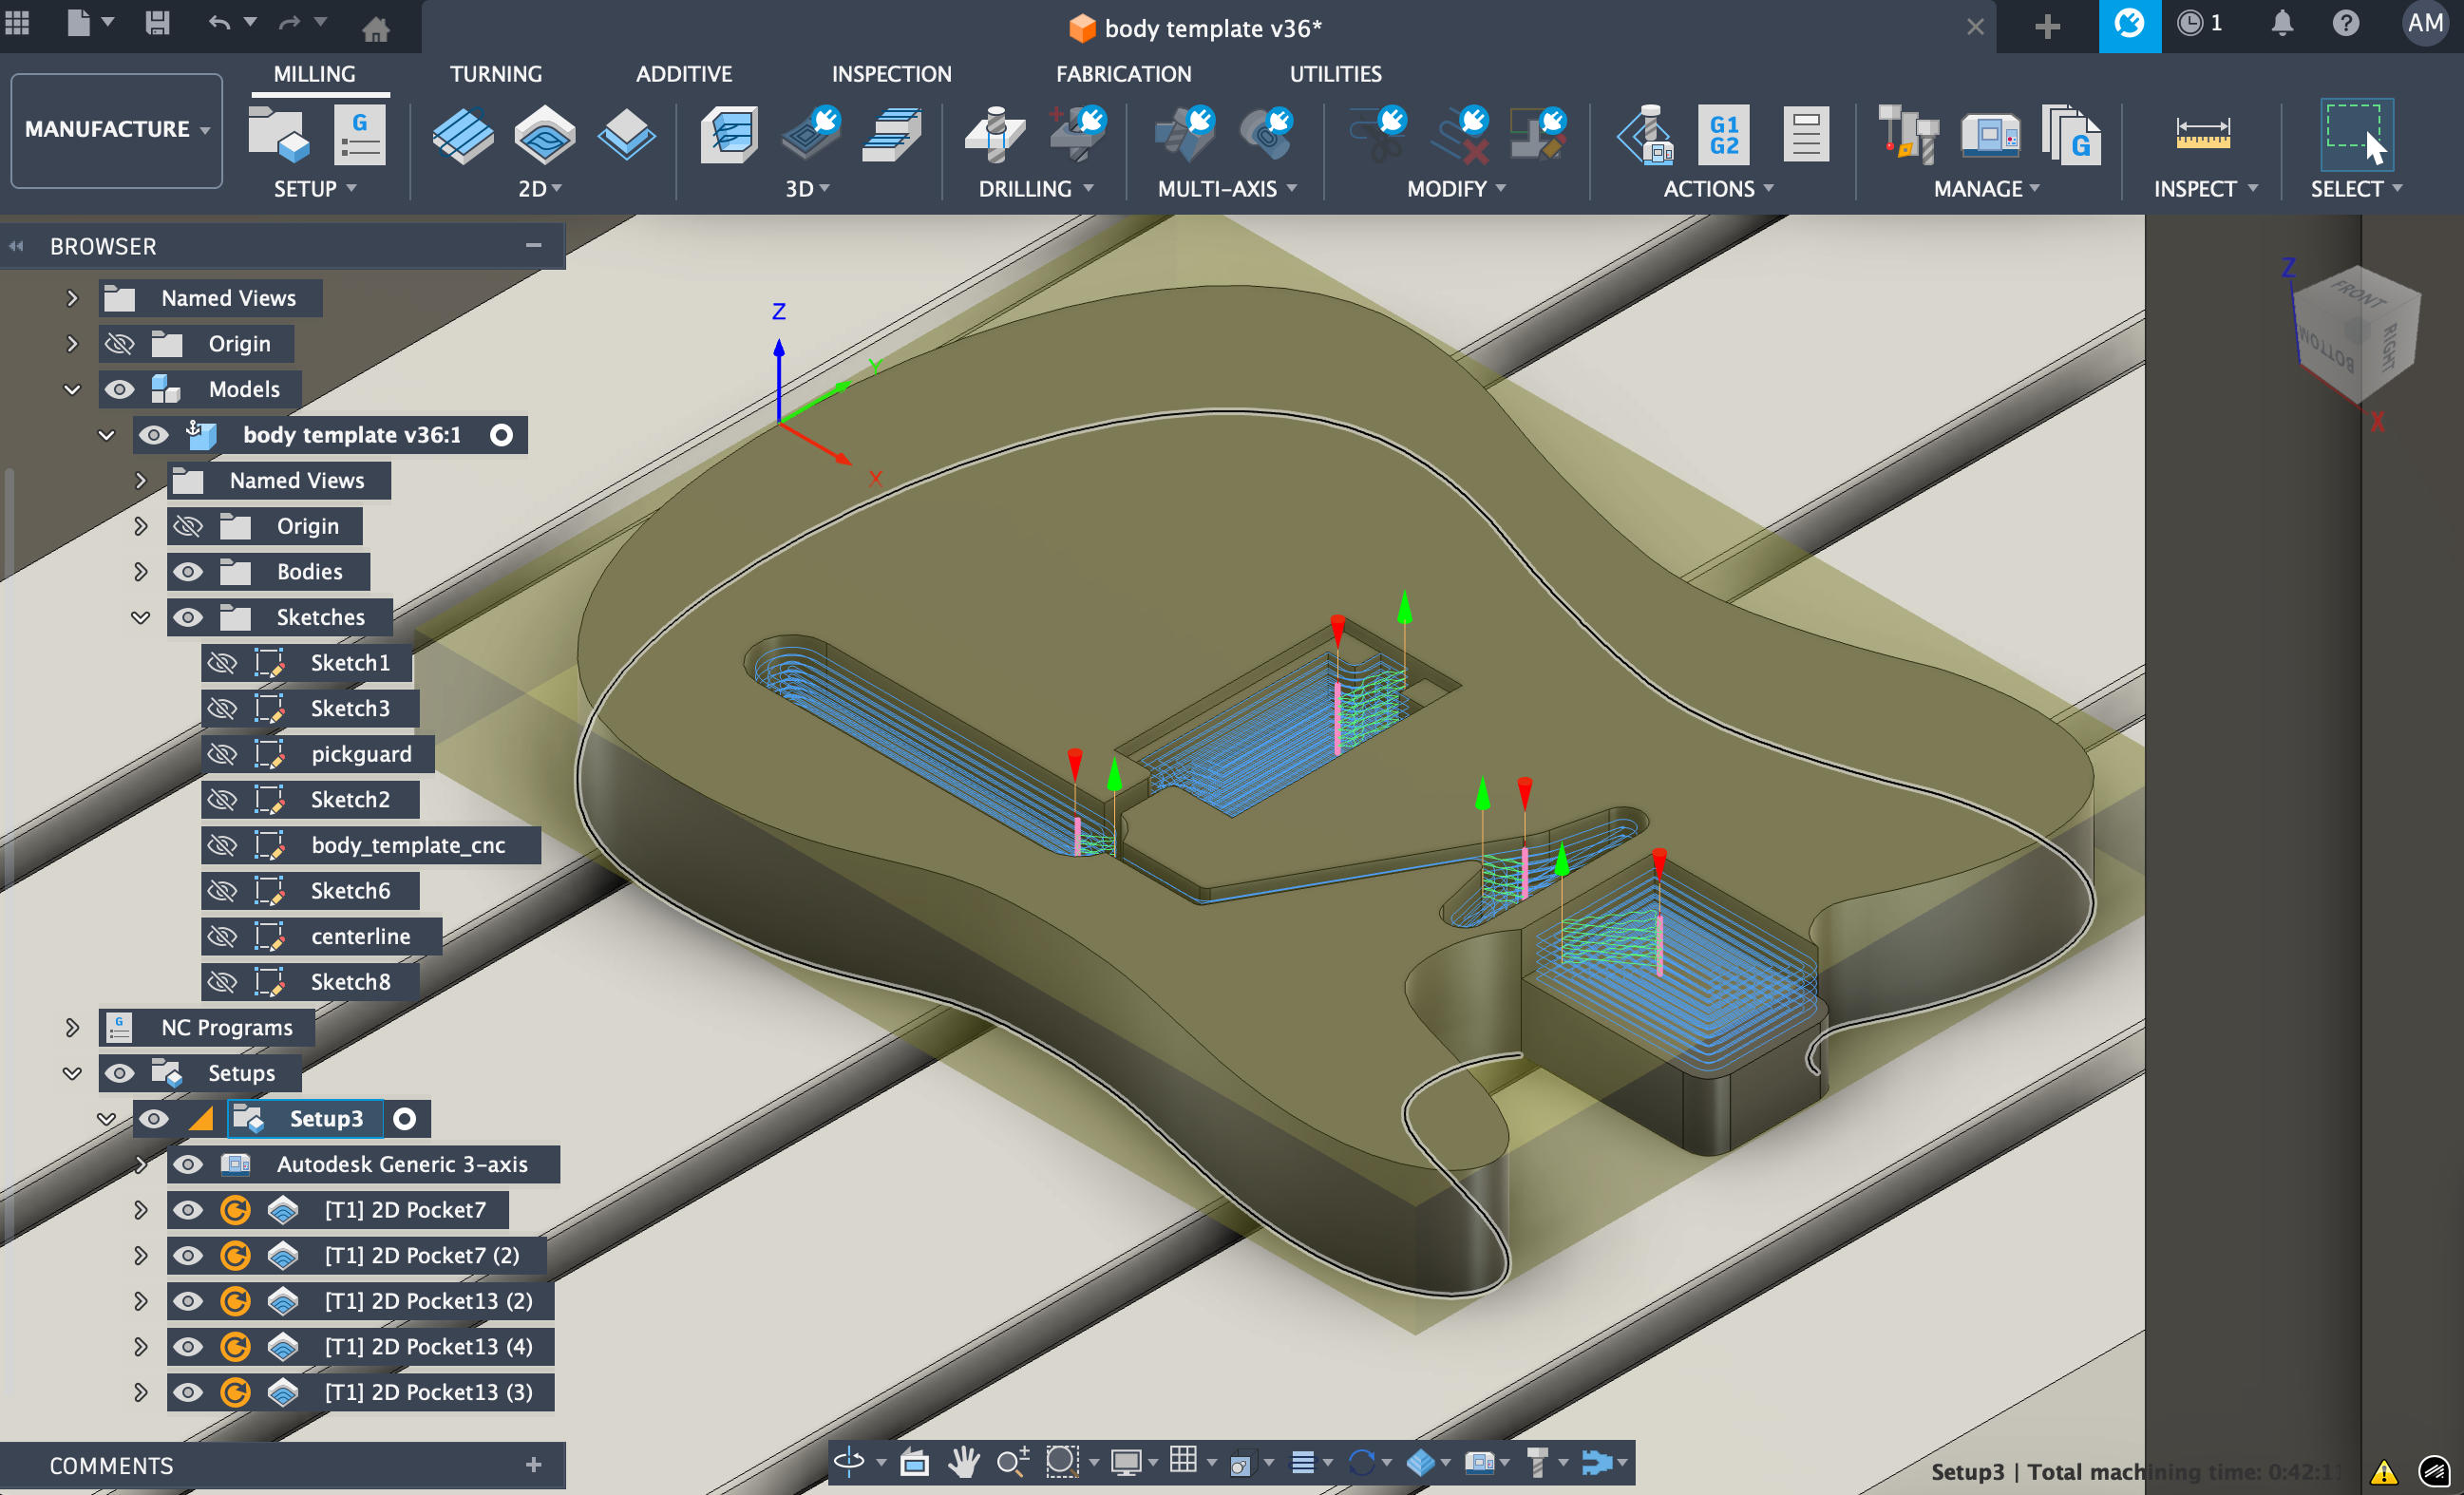
Unlike the guitars so far, this one was heavily machined to get a really precise shape. I got so much practice using the Fusion 360 Manufacturing section during this, that it started appearing in my dreams.
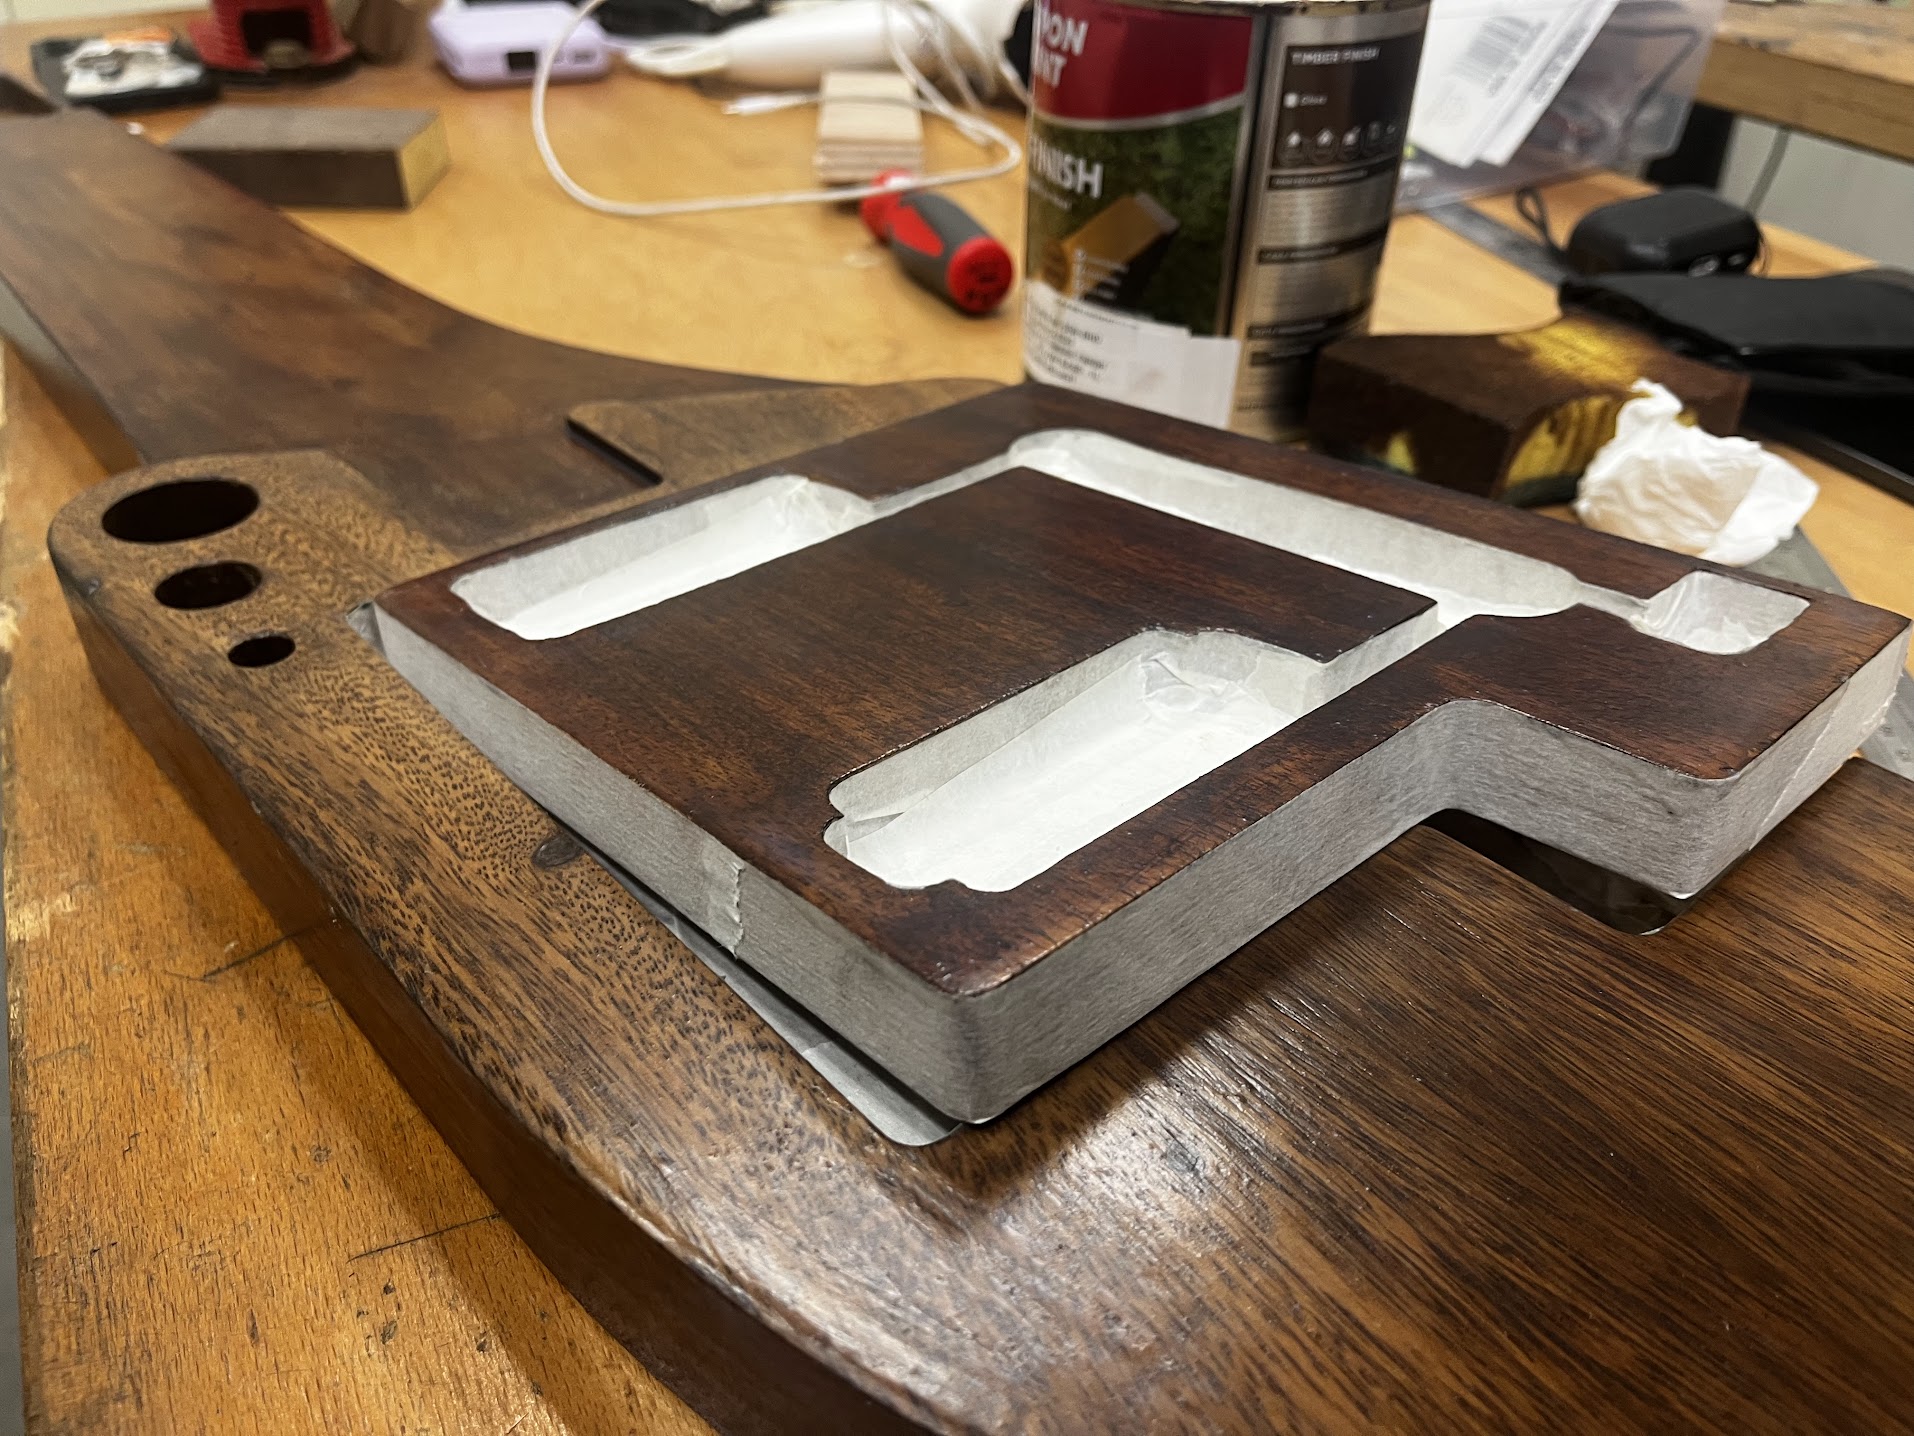
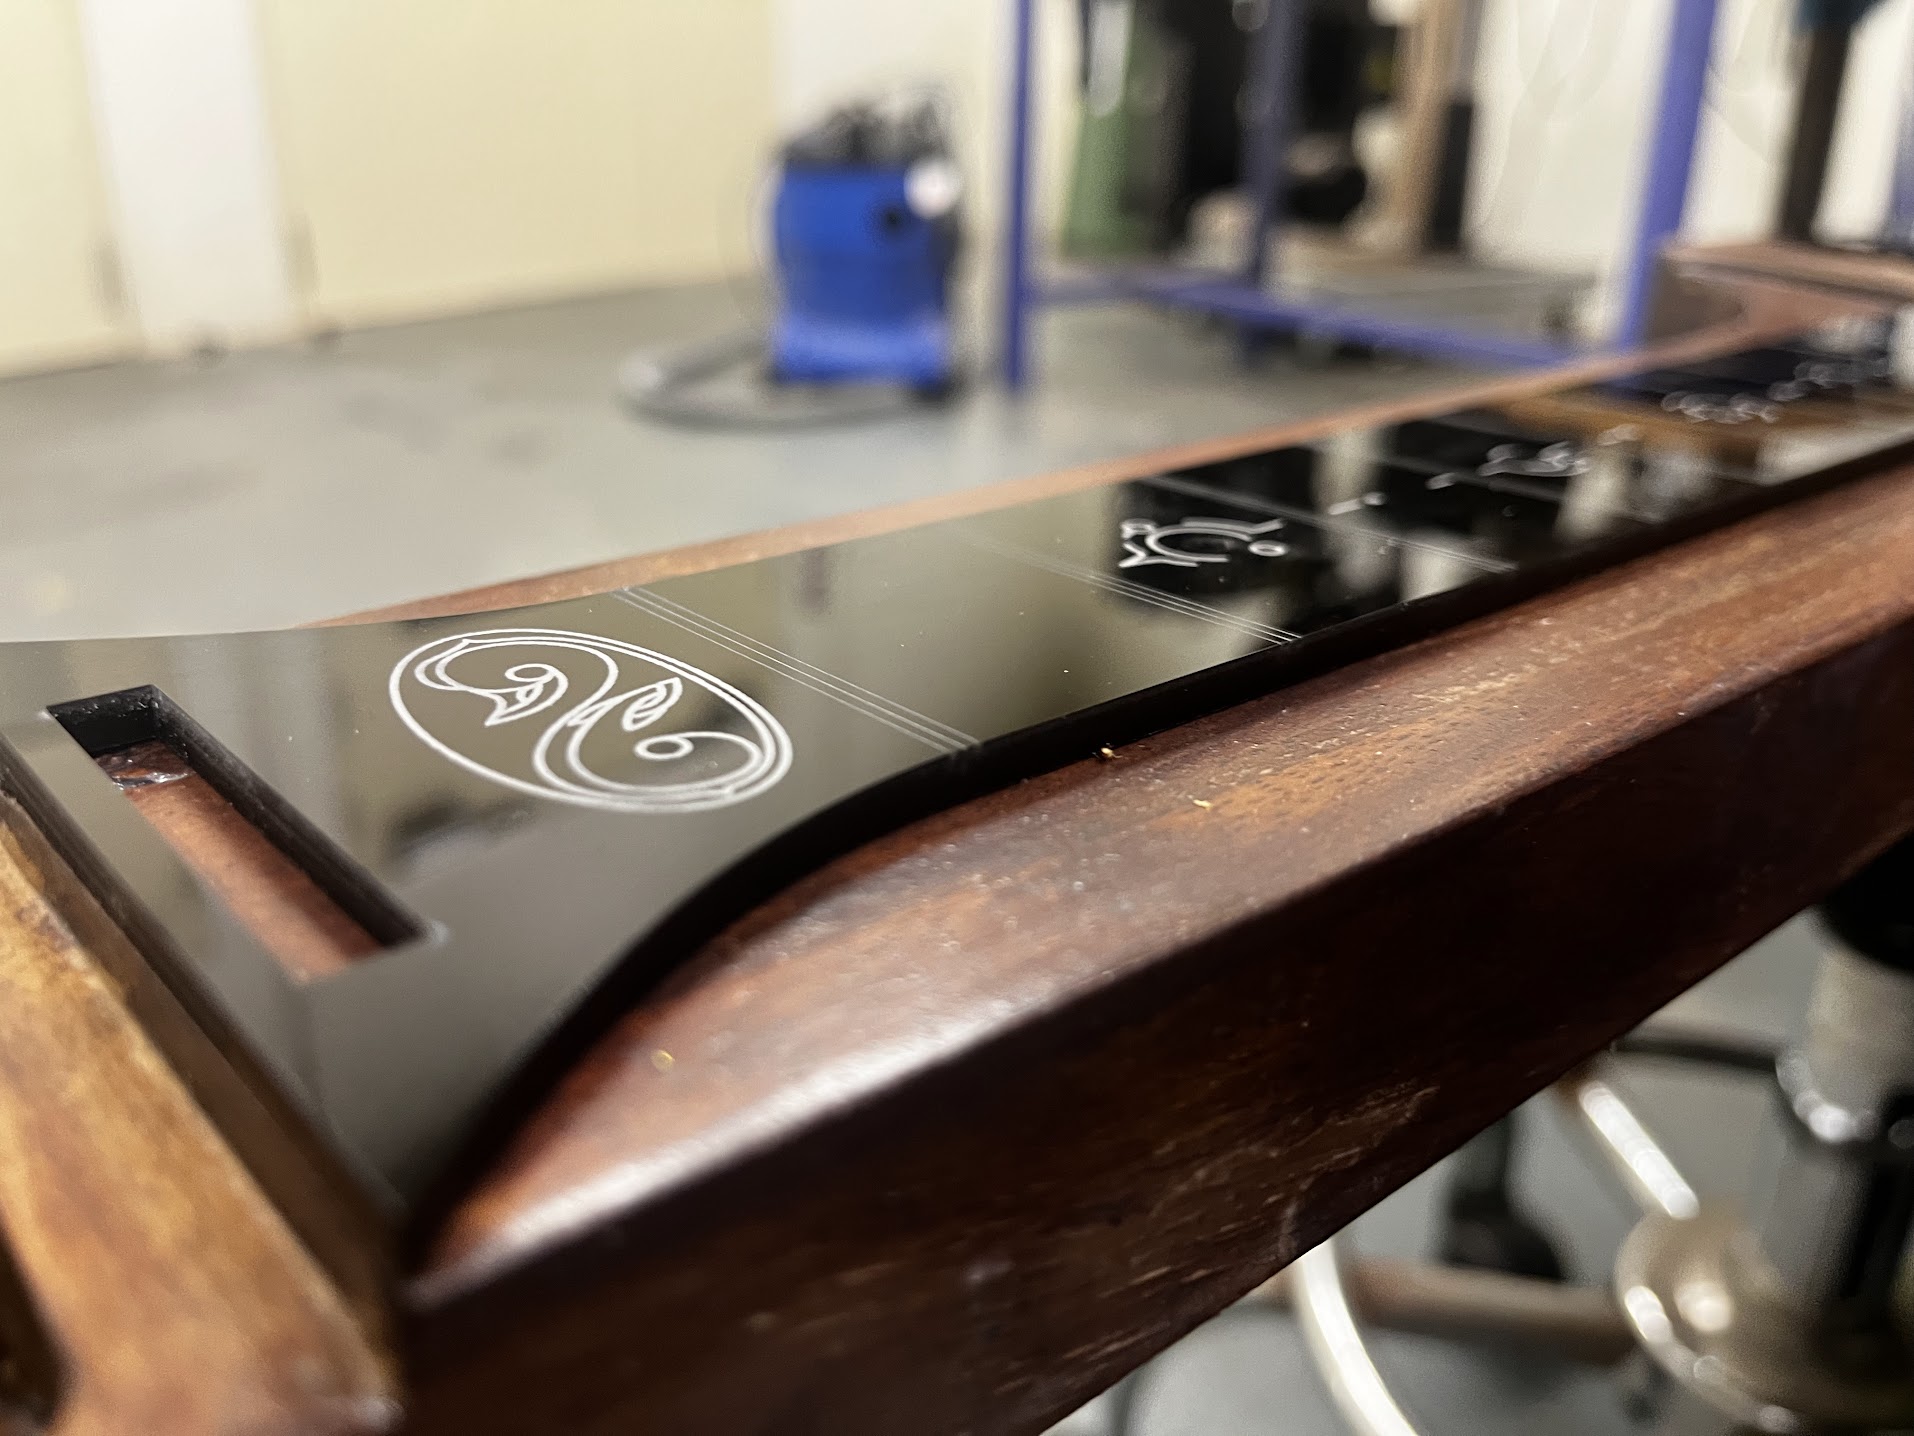
We had a lot of fun with the engravings on both the neck and the pickguard. A major advantage with the lapsteel is that it is fretless, and the body is thick enough that we did not need a truss rod.
Look it’s making a funny face.
Of the guitars we made, this is the one I found the most fun working on, because we both had some idea of how we were getting to the end result which gave us a lot of room to attempt something really weird with it.
Here’s a demo of them working: demo
Excuse the mess of my living room.