Python Playground Chapter 6: ASCII Art!
In October 2022, I started reading Python Playground and wrote an article to mark the day I started.
As of today, I finished reading and coding for the sixth chapter of Python Playground. This chapter (to me) made me realize the book is structured in a way to gradually increase the complexity level of the programs. I completed chapter 7 before chapters 4, 5 and 6, I was surprised how easily I got the hang of this chapter.
The chapter involved creating ASCII art based on a target image.

How It’s Done
ASCII is a standard for character encoding in electronic confirguration. ASCII assigns standard numeric values to letters, numbers, punctuation, etc. The characters used to create the program are first arranged in descending order of how much of their respective space they fill up.
# 70 levels of gray
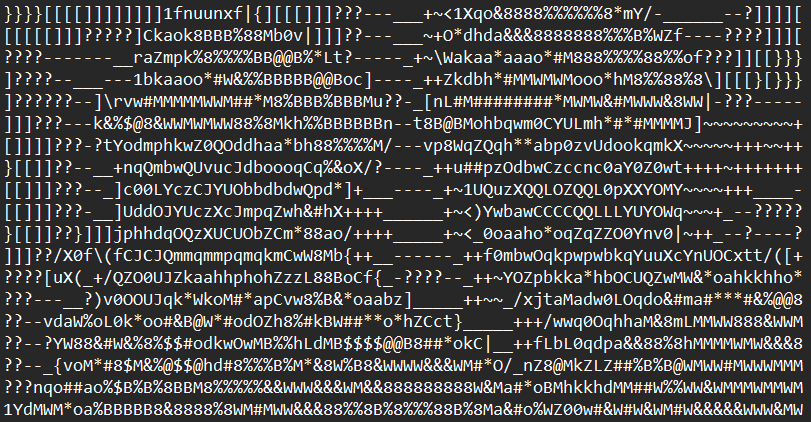
gscale1 = "$@B%8&WM#*oahkbdpqwmZO0QLCJUYXzcvunxrjft/\|()1{}[]?-_+~<>i!lI;:,\"^`'. "
# 10 levels of gray
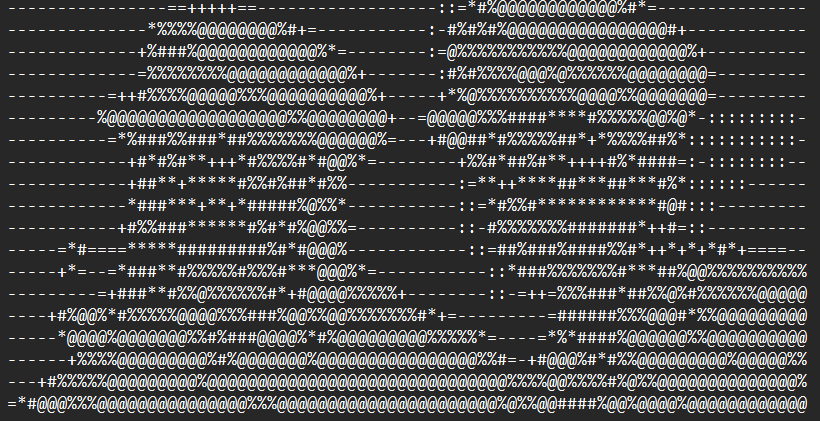
gscale2 = "@%#*+=-:. "
The target image is first converted to a grayscale image, after which it is divided into tiles. The average brightness of each tile is computed by adding each pixel’s values and dividing the sum by the number of pixels. Based on the average brightness, an ASCII character is matched with the tile based on how much space the character fills its space. The character is then added to a nested list which is written into a text file at the end of the program.
To demonstrate the program best, I’ve used a scene from The Lighthouse since it has some of the best black and white cinematography.

Here’s the ASCII art using 10 levels of gray:

Here’s the same image with 70 levels of gray:

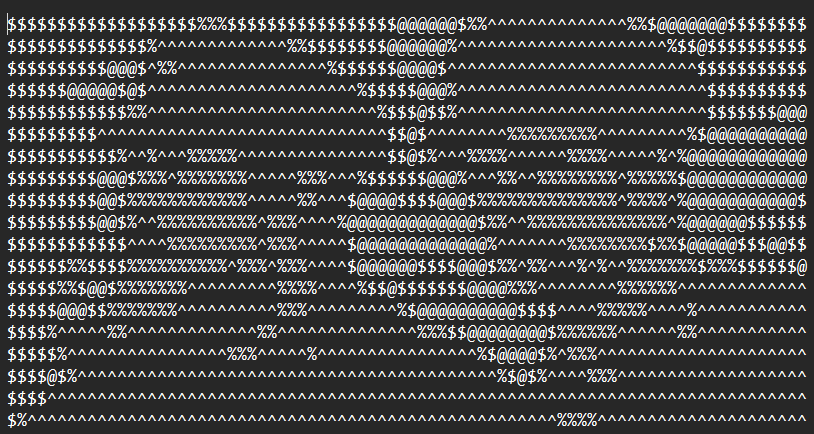
As a part of homework, I added an option to use a custom string of ASCII characters. Here’s what appears using the following command.
python ascii.py --filename lighthouse-2.jpg --outfile test-map.txt --map "@$%^`."

That’s all I have for now. Live long and prosper.