Python Playground Chapter 8: Autostereograms!
In October 2022, I started reading Python Playground and wrote an article to mark the day I started.
As of today, I finished reading and coding for the eigth chapter of Python Playground - a program to create Autostereograms.
Autostereograms are 2D images that simulate depth. Percieved depth in an autostereogram is based on the horizontal spacing between points in the final image. This is based on how the brain matches a group of points seen by the left eye with a different group seen by the right eye. The stereogram uses repeating patterns of points that are horizontally spaced according to the depth of the image, so that when the eyes try to focus on the complete image, it focuses at a point behind the image, resulting in percieved depth.
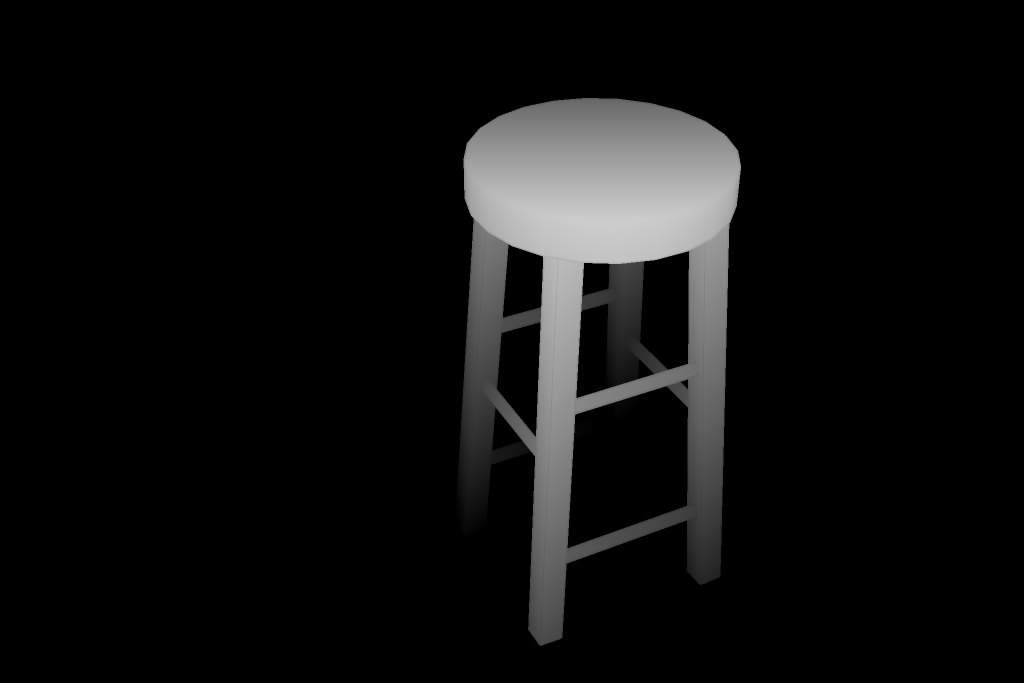
The program is run on a depth map - a type of image whose brightness represents its depth.

In the above image, the points closer to the camera are brighter while the points further away are darker.
Creating the Autostereogram
def createStereogram(dmap, tile):
    if dmap.mode is not 'L':
        dmap = dmap.convert('LThe')

    if not tile:
        tile = createrandomtile((100, 100))

    img = createtiledimage(tile, dmap.size)

    sImg = img.copy()
    pixD = dmap.load()
    pixS = sImg.load()

    cols, rows = sImg.size

    for j in range(rows):
        for i in range(cols):
            xshift = pixD[i, j] / 10
            xpos = i - tile.size[0] + xshift
            if xpos > 0 and xpos < cols:
                pixS[i, j] = pixS[xpos, j]

    return sImg
The above function takes a depth map and the tile as input and returns a set of spaced dots which represents the autostereogram. The function createtiledimage() splits the image into tiles. The program then iterates through the tiled image and shifts the randomly generated dots by xshift. Points in the depth map with a map value of 0 are not shifted and percieved as the background.
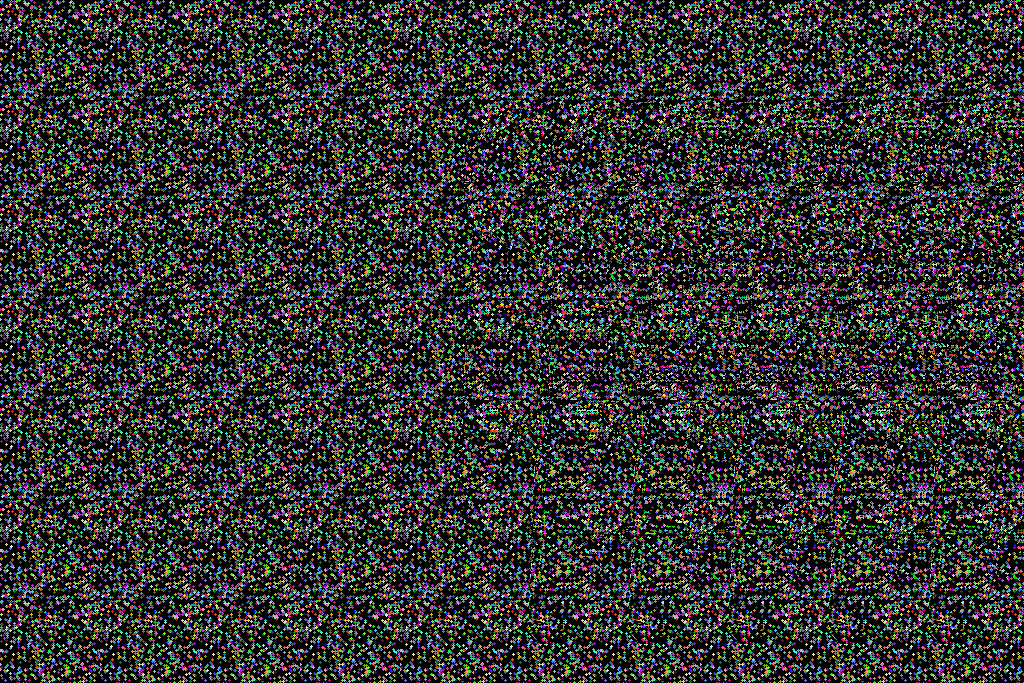
The final result looks like this.

It may take a few moments to see the percieved depth in the above image.
If no tile is specified, the program uses randomly generated dots which are then shifted based on depth map values.
As a part of homework, I learned Blender’s depth map features to create depth maps from 3D objects. Closer objects are colored white while objects that are furhter away can be colored with lower grayscale values.
That’s all I have for now. Live long and prosper.